Making money playing video games sounds like a dream.
When you stream on Twitch, you can turn that dream into a reality.
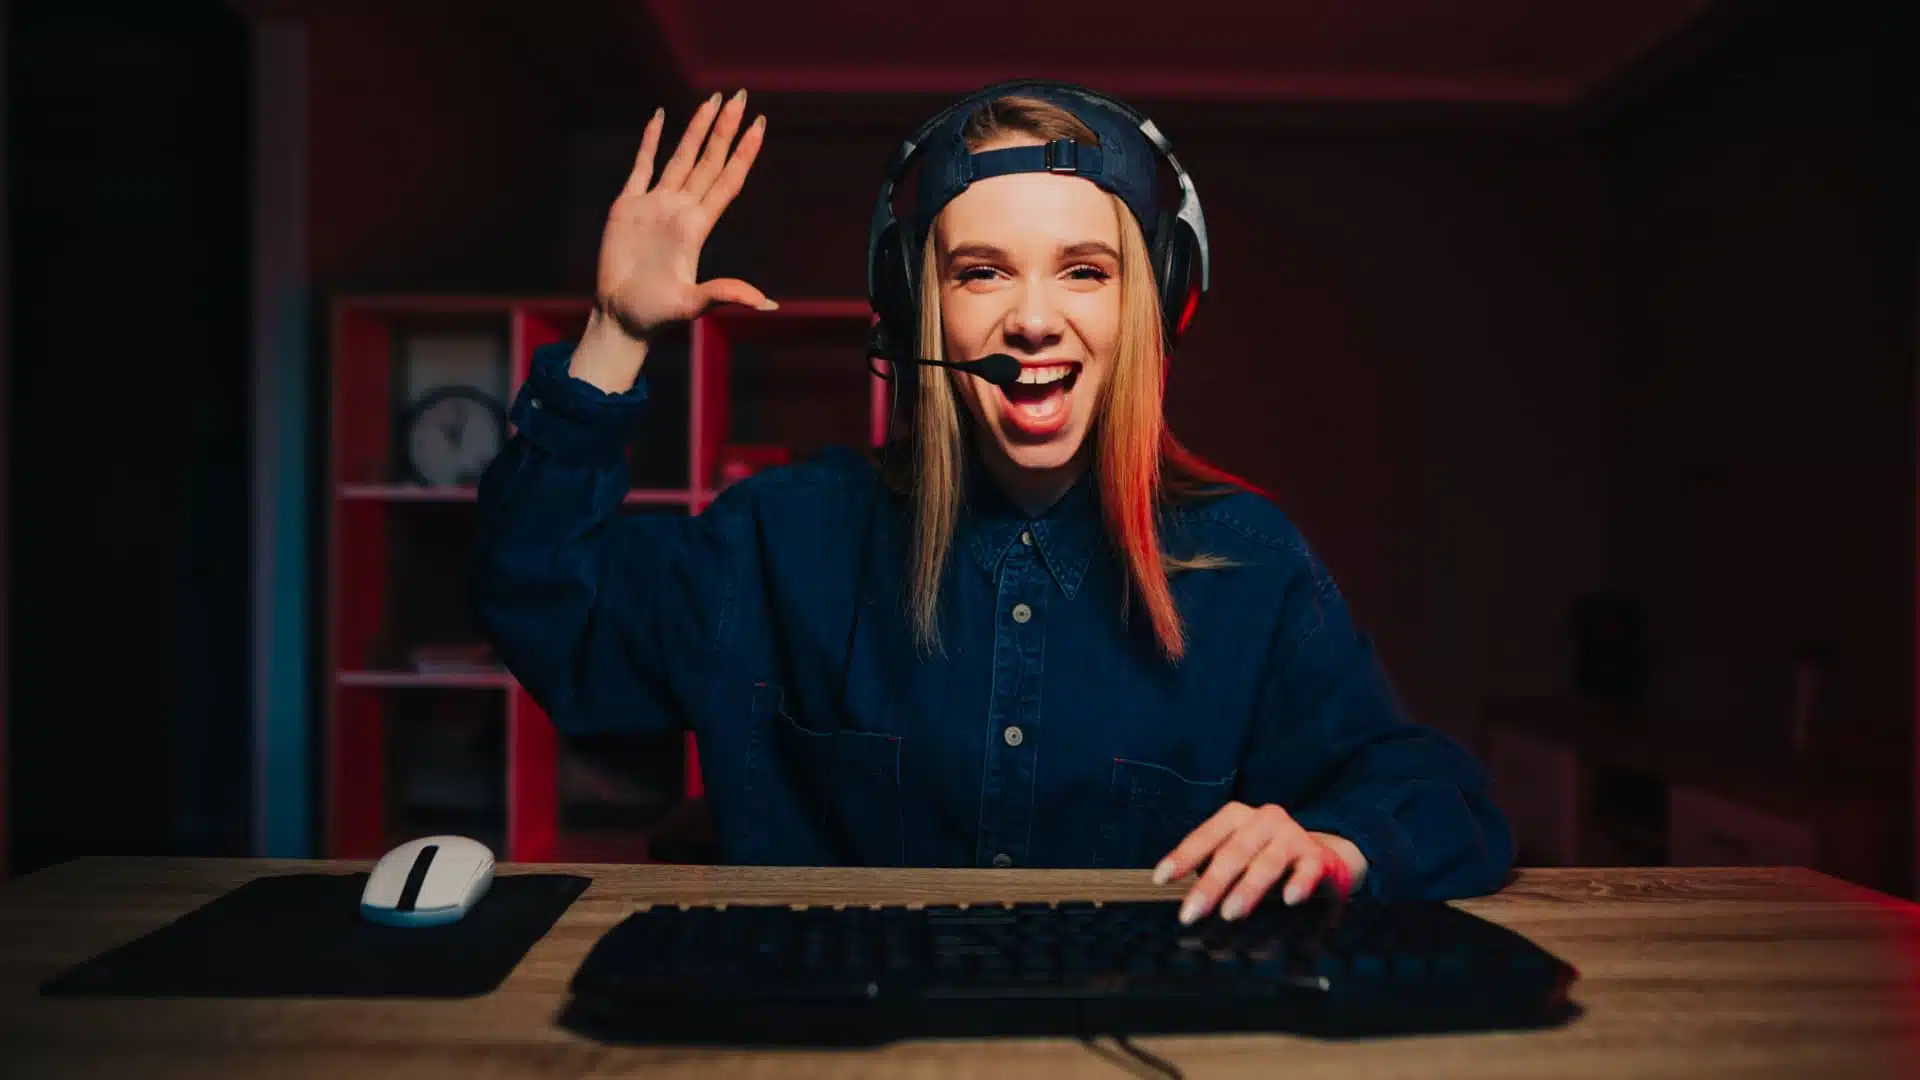
Discover how to start your Twitch stream and transform your love of gaming into cash.
How to Stream on Twitch
People don’t realize how much time and effort they must dedicate to Twitch to earn money streaming.
You must master the technology, choose the right games, and grow your audience, but it’s all easier said than done.
We will help you with all of them, but first and most importantly….
Curb Expectations.
Though it’s easy to make money on Twitch, it’s a lot harder to earn a living on the platform. If you follow our guides with passion and dedication, you’ll become a Twitch affiliate, get subscribers, and earn a few extra bucks, but it takes a lot more to earn a full-time income streaming.
Our guide covers getting started, but streaming isn’t an “If you build it, they will come,” activity. Don’t expect to grab the right equipment and earn thousands a month.
Streaming For Fun
Not everyone desires a full-time income from Twitch. Many people join the platform to make new friends or share their love for a certain game. I initially joined to find people to play JackBox with!
Whether you want to stream for fun, relationship building, or eventually earn an income, our guide to starting a Twitch stream will show you the basics.
What is Twitch?

First – the basics.
Twitch is a live-streaming platform allowing you to broadcast your gameplay online. The platform lets viewers interact with players and connects folks who share a passion for games.
It’s an excellent way to engage with people who are interested in the same games that you are and connect with other players. It’s my favorite streaming platform, especially now that Mixer no longer exists.
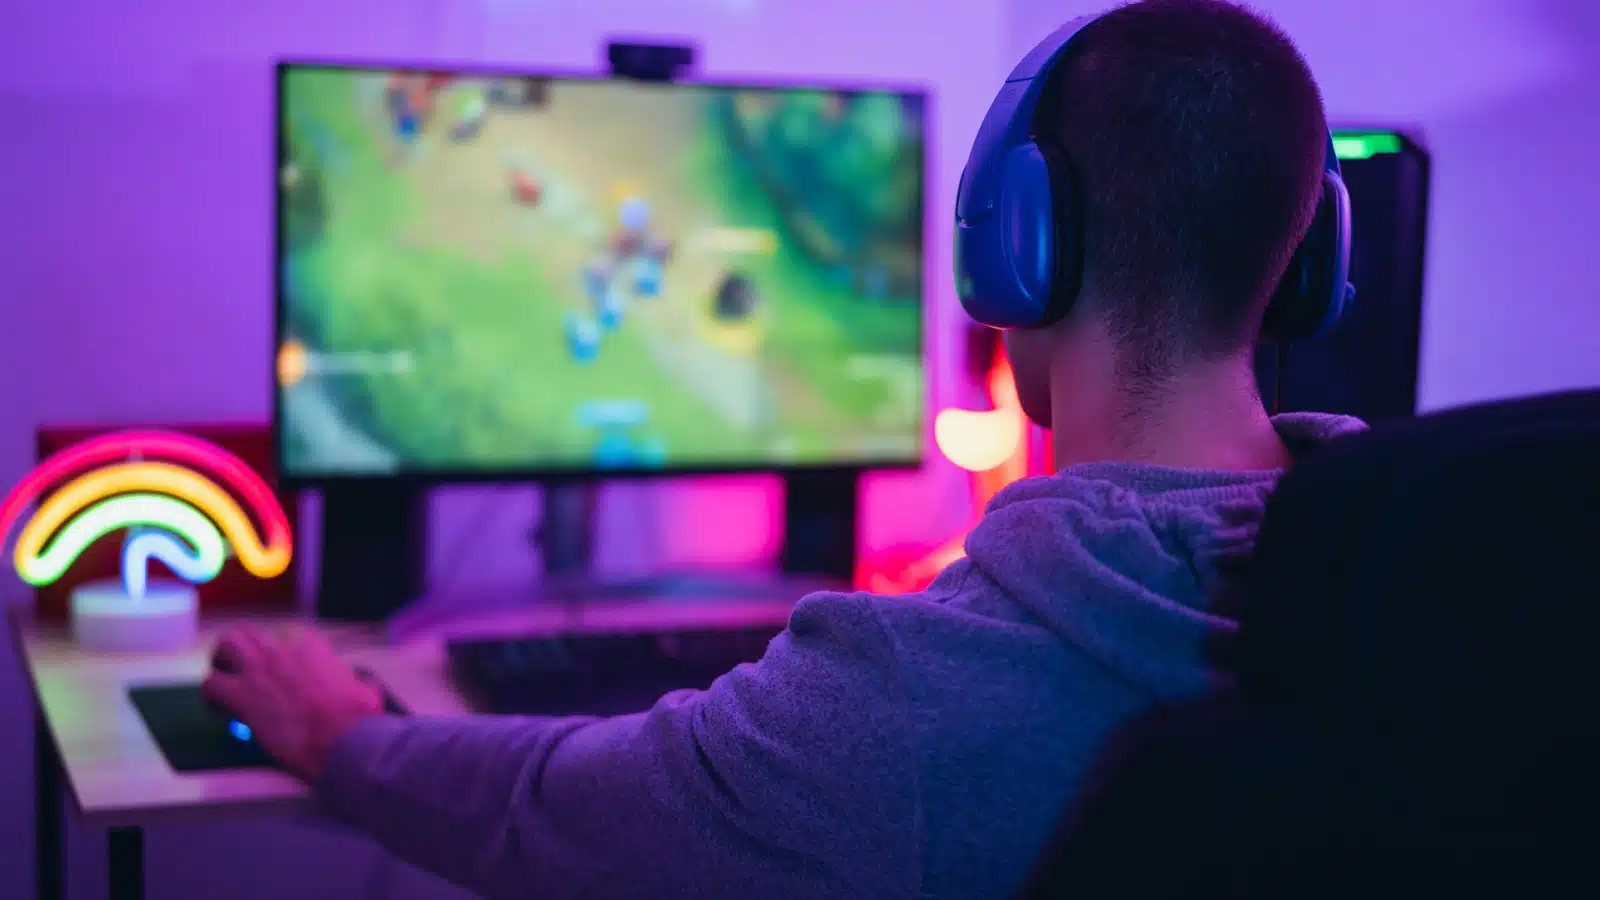
How To Stream on Twitch

MergeIdea via Shutterstock.com
Twitch makes streaming easy. Here’s how to do it in five easy steps:
- Create a Twitch Account
- Set up Hardware and Software
- Connect your broadcasting software to Twitch
- Configure Your Settings
- Go Live!
Okay, some steps are a little complicated, so we’ll go through each to help you set up your perfect stream.
Step One: Creating Your Twitch Account

Mehaniq via Shutterstock.com.
Head to twitch.tv and create a free account. Read and understand the community guidelines before agreeing – most relate to adult content and maintaining a safe community for all, but it’s crucial to know what you’re signing up for.
Choose Your User Name
Although you can change your user name later, it’s easier to settle on something you’ll like from the start.
When deciding upon a name, consider why you’re streaming. Do you want to build a brand, and if so, what will it be based on? Are you focusing on a specific game or do you want to be a variety streamer?
It’s up to you, but choose something with marketability if you eventually want to monetize.
2FA
Twitch isn’t immune to hackers. When creating your account, you’ll want to enable two-factor authentication to keep your private data safe.
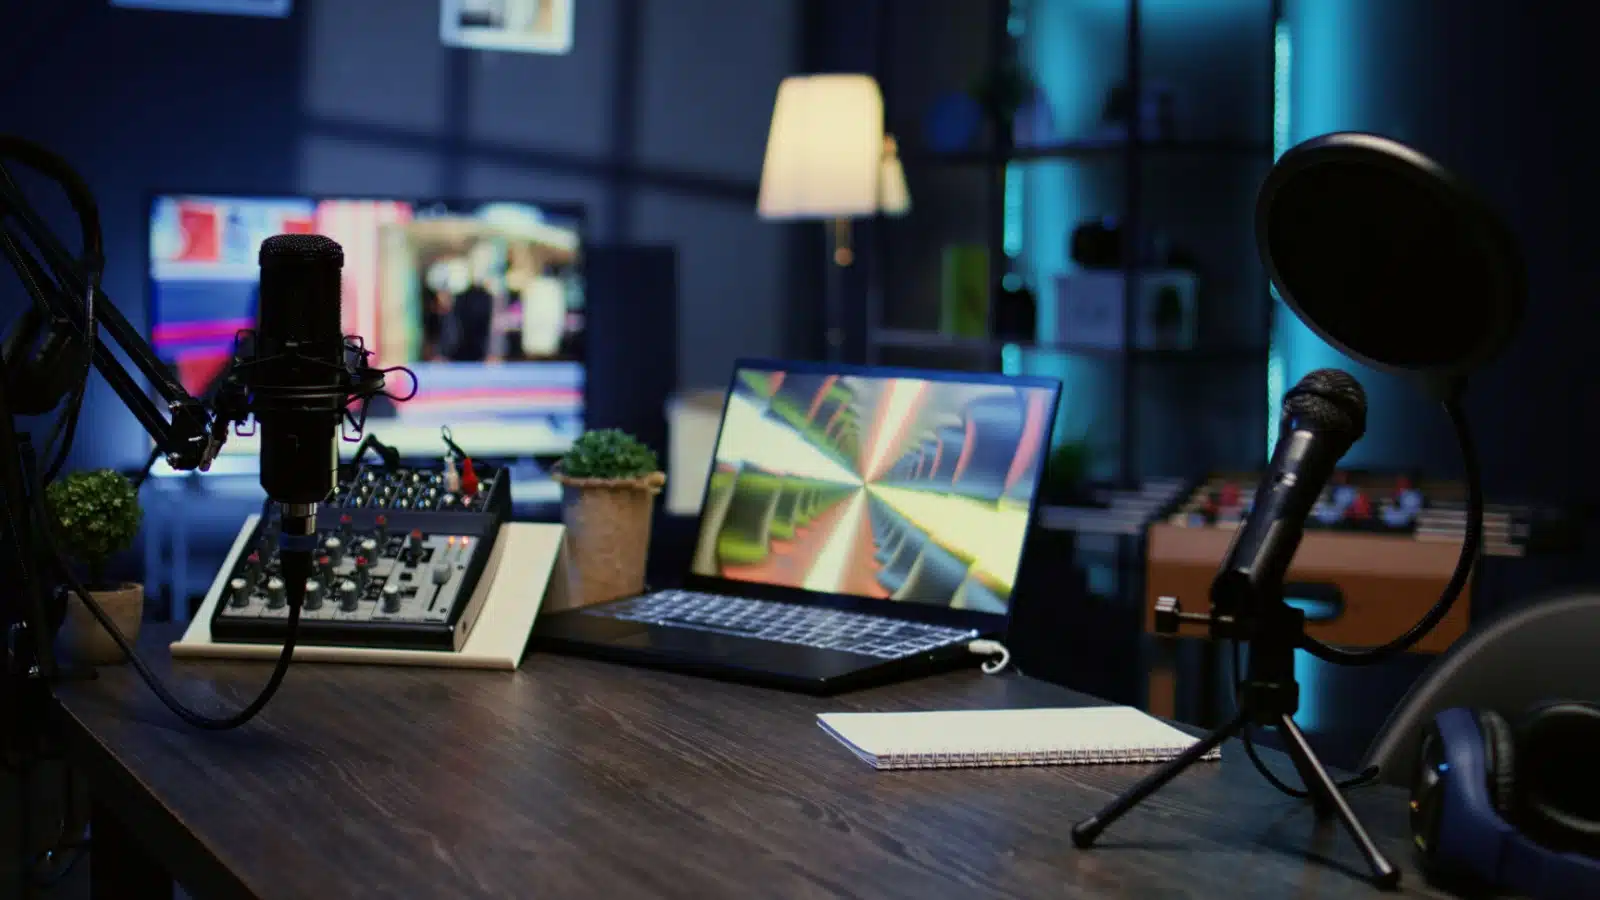
Step Two: Hardware and Software
If you want to stream on Twitch, you need the right equipment, which may vary based on how you stream and your goals.
Let’s start with the hardware.
Hey folks! Transparency Disclosure- Some of the links in this article are affiliate links. That means I’ll receive a small commission if you decide to click on it and buy something. Don’t worry, it doesn’t cost you anything extra!
What Equipment Do I Need to Start a Twitch Stream?
Computer or Console
A computer capable of handling gaming and live streaming is crucial to successfully starting a Twitch stream. I love my MSI Stealth Pro, which is over five years old and still working great.
You can start your streaming adventure without a computer. PlayStation and Xbox consoles provide livestreaming options allowing users to connect directly to Twitch.
Although it’s a great option for people who don’t care about monetizing, they offer limited functionality for building overlays and controlling your tech.
A computer is essential for those who want to take streaming seriously.
A Note About Mobile Streaming
It is possible to stream to Twitch directly from your mobile device. If you do this, you won’t need a computer or any of the other software mentioned below.
Some folks found success via mobile streaming, but it leaves a lot to be desired.
Internet Connection
You will also need an internet connection with decent upload speed. Live streaming takes a ton of bandwidth, so make sure your ISP can handle it.
If you don’t have a good connection speed, you will drop frames and your stream will lag, leading to a poor user experience.
Capture Card

Marinamiltusova2250 via Shutterstock.com.
Most Twitch streams will need a video capture device, a tiny little box, called a capture card, that coordinates signals between your computer, television, and gaming console. It “captures” the image from your television and shares it with your computer via HDMI or USB3 connection, allowing you to stream online.
You can choose from a variety of capture cards, all with different features. You must ensure the one you choose is compatible with your console and computer. I use the Razer Ripsaw HD, because it’s compatible with the PC, PlayStation, XBOX, and Nintendo Switch systems. Elgato is also a popular brand, as it’s user-friendly and compatible with every console.
Some consoles feature game capture software, which allows you to stream directly from the console. However, using a capture card and computer will enhance your stream quality.
Microphone
Streamers must interact with their audiences. People want to hear you! And if you want to take streaming seriously, your sound quality must be stellar.
Although most computers feature built-in audio systems, they don’t work well for streaming. A high-quality microphone allows you to adjust your sound input settings, ensuring a crisp, clear stream.
I use the Blue Yeti – it’s one of the best microphones on the market. The Blue Yeti makes customizing the sound settings simple, and the microphone picks up everything you need while minimizing feedback.
Headphones
I loathe headphones, so you’ll rarely catch me wearing them when I stream. But my refusal to use standard streaming equipment comes with drawbacks. I can’t hear my game. I have to play on mute, because if I put the volume on, the microphone will pick it up, creating an awful echo on stream.
Sometimes, I put the TV volume on extremely low so I can barely hear it, and I bring the microphone as close to me as possible, setting it to avoid low-volume sounds. That way, I have a tiny bit of background music, but it doesn’t interrupt my stream. Although this works for me, it’s probably not the ideal setup for most streamers
WebCam
A lot of people stream successfully without a webcam. Some folks hate showing their face on the internet, and I respect that.
However, most fans like to see who they’re interacting with. A webcam shows the person behind the game, allowing people to build stronger relationships.
Although most computers come with built-in cameras, they tend to have poor quality. It’s also static, so you can’t control where the camera goes.
An external webcam offers far better quality and more versatility, so you can set it up in exactly the right spot.
I use a live streaming webcam which includes a built-in microphone (that I don’t need), but it’s an ideal solution for those who want to get started with minimal start-up costs.
Green Screen
You don’t need a green screen. Plenty of streamers don’t use one, and they do just fine. However, if you want to be a super cool gamer who has their face literally on the game, the green screen is the way to go.
Amazon offers a full studio kit with a green screen, umbrella lights, and stands for $150. It has everything you need to create a high quality stream.
However, you can do it on the cheap by grabbing a length of green fabric from your favorite craft store and pinning it with clothespins.
What Software Do I Need to Start a Twitch Stream?

Stock-Asso via Shutterstock.com.
Now that you have the hardware and equipment covered, it’s time to choose and download your software.
Here’s what you need to start a Twitch stream.
Broadcasting Software
Broadcasting software is crucial to livestreaming. It allows you to configure your display and audio settings, create overlays, and manage how your stream looks.
You have the choice between two great options:
- OBS (Open Broadcast Software)
- Streamlabs
Regardless of which software you choose, there will be a slight learning curve. It took me about a month to get everything working correctly.
Each option features a wide range of settings, and you’ll have to manually configure each to ensure everything works for your stream setup.
A bonus about both OBS and Streamlabs is that they can be used for more than broadcasting live videos. They also feature screen recording functionality to help you create videos.
I’ve used both, so here’s a brief rundown of each:
OBS
OBS is a free, open-source software for livestreaming and video recording. You can download it for Windows, Mac, or Flatpak.
The advantage of OBS is that it’s completely free. The disadvantage is it’s not very user-friendly. It takes a while to learn, and if you aren’t very tech-savvy, it might be hard to set up.
Once it’s installed, you will have to play with the settings a little bit to get the stream right for you. You can change the audio settings, the visual settings, and even update your stream information right from the OBS platform.
Streamlabs
After I played with OBS for a while, I decided to switch to Streamlabs. OBS is great, and it has a lot of options, but in my opinion, Streamlabs is easier.
Since Streamlabs is made for streamers, it also offers overlays, which helps your stream look sleeker and more professional. Though there are a handful of free options, users get more choice if they sign up for Streamlabs Ultra, which features over 1000 themes and overlays, 10GB storage, and a vast array of additional functionality.
Video Editing Software
As a beginner streamer, you may not need video editing software, but as you grow your community and online presence, you may want to create and edit videos or clips for social media or YouTube.
I use Blender to create all my videos. It’s free and loaded with professional level functionality. Check out our article on video editing software for additional options.
Step 3: Connect Your Broadcasting Software to Twitch
Now that you’ve got your hardware and software set up, you need to connect to your Twitch account.
Go into the settings in the “Controls” dock, then add in your primary stream key from Twitch to get connected. OBS makes it really easy – just make sure you are logged into Twitch and click the “get my stream key” button. It should take you directly to your channel dashboard.
Alternatively, you can go to Twitch, navigate to your creator settings, and then your channel settings. Your stream code will be hidden, but you can view it to copy and paste it into OBS.
You don’t ever want to share your stream code with anyone, so make sure you aren’t live streaming while you’re looking at it!
Here’s a short video that shows you how to find your stream code on Twitch:
Step 4: Configure Your Settings
Now that you’ve connected Twitch and OBS, you are ready to start streaming! Hit the “go-live” button and start your first stream!
Of course, we only hope it’s that simple.
Now that you have everything set up, you need to make sure it works.
When you’re first starting, it doesn’t hurt to go live to ensure all your tech is working as expected.
Get a friend to watch your first stream. They can tell you how it looks and sounds from a viewer’s perspective, and help you tweak all your software settings to ensure it looks just right.
Step 5: Start Streaming!
Although our guide showcases how to start a Twitch stream, you don’t have to commit to Twitch. There are a few alternatives that might be better depending on your goals.
In my opinion, Twitch reigns supreme, but there are pros and cons to all of them.
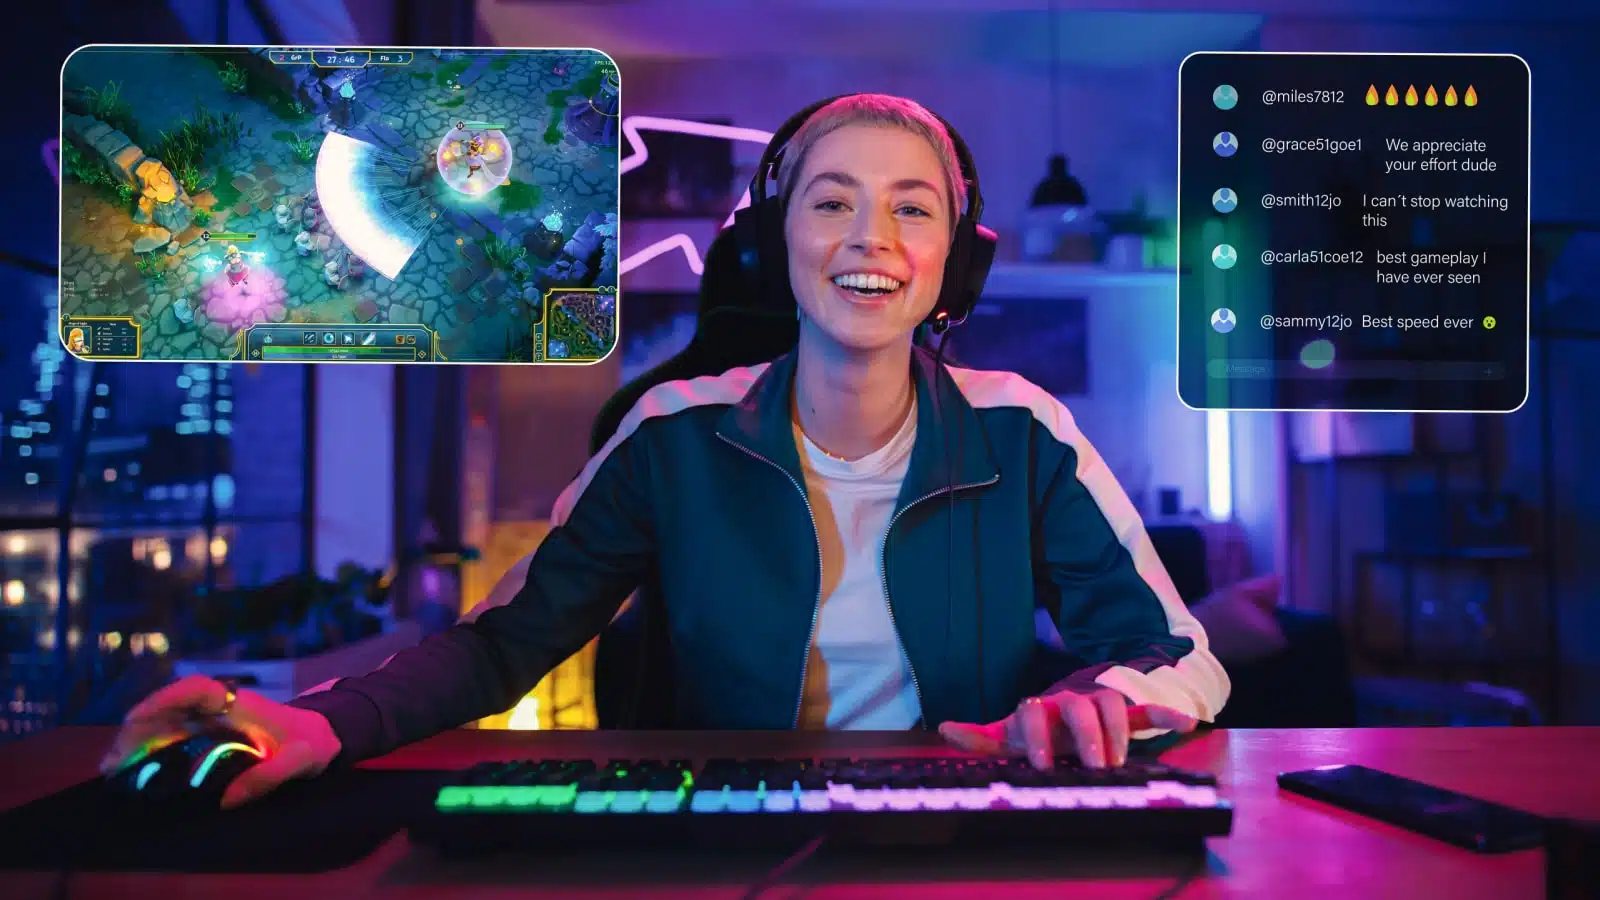
How to Stream on Twitch: Viewers, Affiliation, and Monetizing

Krakenimages.com via Shutterstock.com.
Hitting that go-live button starts your journey, but there’s far more to Twitch streaming than your setup.
Now, you need to get viewers, build a following, become an affiliate, and monetize your stream (if you want).
We’ve got the basics covered to help you get started.
How to Get Viewers on Twitch
When you hit the go-live button, you will start streaming into the void. People aren’t going to come just because you’re live.
The next step is attracting them.
Networking is key. Join Discord servers dedicated to helping streamers grow. Post your content to social media. Interact with other new streamers.
Check out our massive guide on 40 ways to gain viewers on Twitch for more help.
Becoming a Twitch Affiliate
To monetize your stream, you must become an affiliate. To reach affiliate status, you need 25 followers and an average of three concurrent viewers. You must also fulfill Twitch’s time requirements.
Gaining three concurrent viewers is more challenging than it seems. However, if you follow our guide on how to become a Twitch affiliate, you should be able to achieve this status in about 30 days.
Monetizing Your Stream
Once you become a Twitch affiliate, you can monetize your stream. Twitch affiliates make money in a number of ways, but the easiest for new streamers is via bits and subscriptions.
Bits are in-app currency that allows viewers to cheer for you, and subscriptions are a way for your biggest fans to support you.
Beyond Learning How to Stream on Twitch
Learning how to stream on Twitch is just the beginning. Although a lot goes into setting your stream up, there’s far more to being a successful streamer than configuring bitrate and ensuring that your audio mixer is perfect.
Most of the work in becoming a Twitch streamer comes after you get started.
It’s the countless hours of networking, perfecting your performance, learning how to engage with viewers. It takes time and effort, but it’s crucial to becoming a successful streamer.
1 thought on “How to Stream on Twitch: Your Guide to Starting a Twitch Stream”