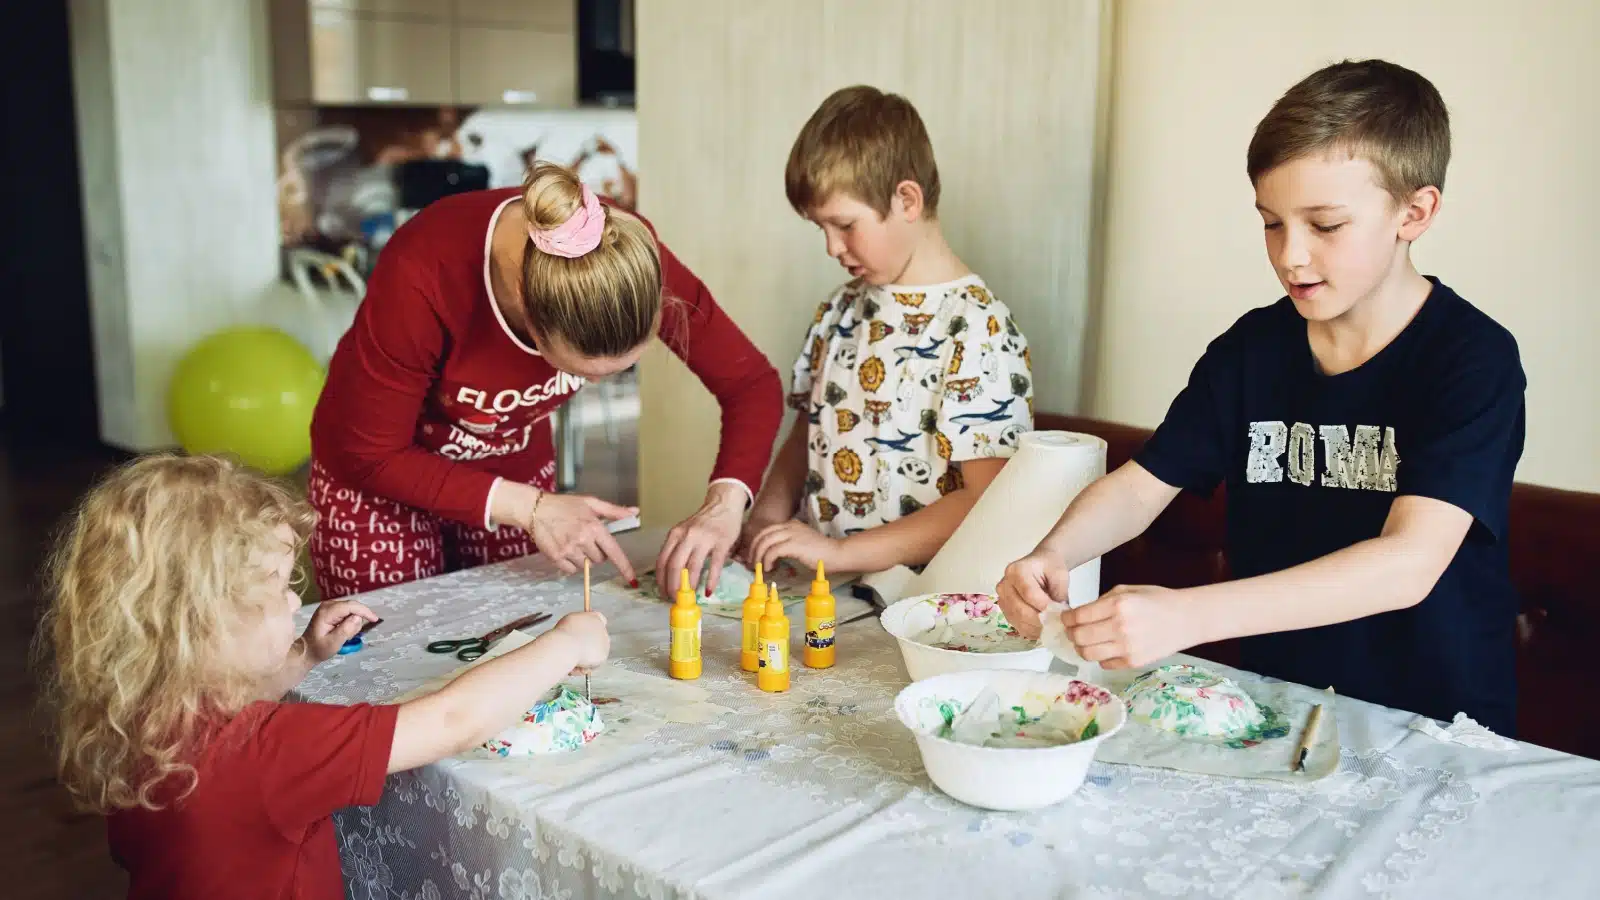
Papier-mâché arts allow us to create unique sculptures with stuff we have lying around the house. It’s a go-to craft for school projects and parents trying to keep their kids occupied, but not often celebrated as the impressive art it is.
The best part? It’s so easy to do at home. All you need is old paper and paste to build your sculptures.
What is Papier-Mâché Paste?

Papier-mâché paste isn’t a standard paste you buy at the craft store. It’s even better because you can make it at home with items you probably have in your pantry.
The internet abounds with papier-mâché paste recipes, but some get way too complicated.
We’re bringing you the easiest papier mâché recipes you can make with ingredients you have at home.
The Easiest Papier-Mâché Paste Recipe
The only thing you need to make paper mâché paste is flour. The pantry staple is a crucial ingredient in the easiest papier mâché recipe.
The recipe calls for one part flour and two parts water. That is, if you use two cups of water, you’ll use one cup of flour.
You can make as much or as little papier-mâché paste as you’d like, following the two-to-one ratio.
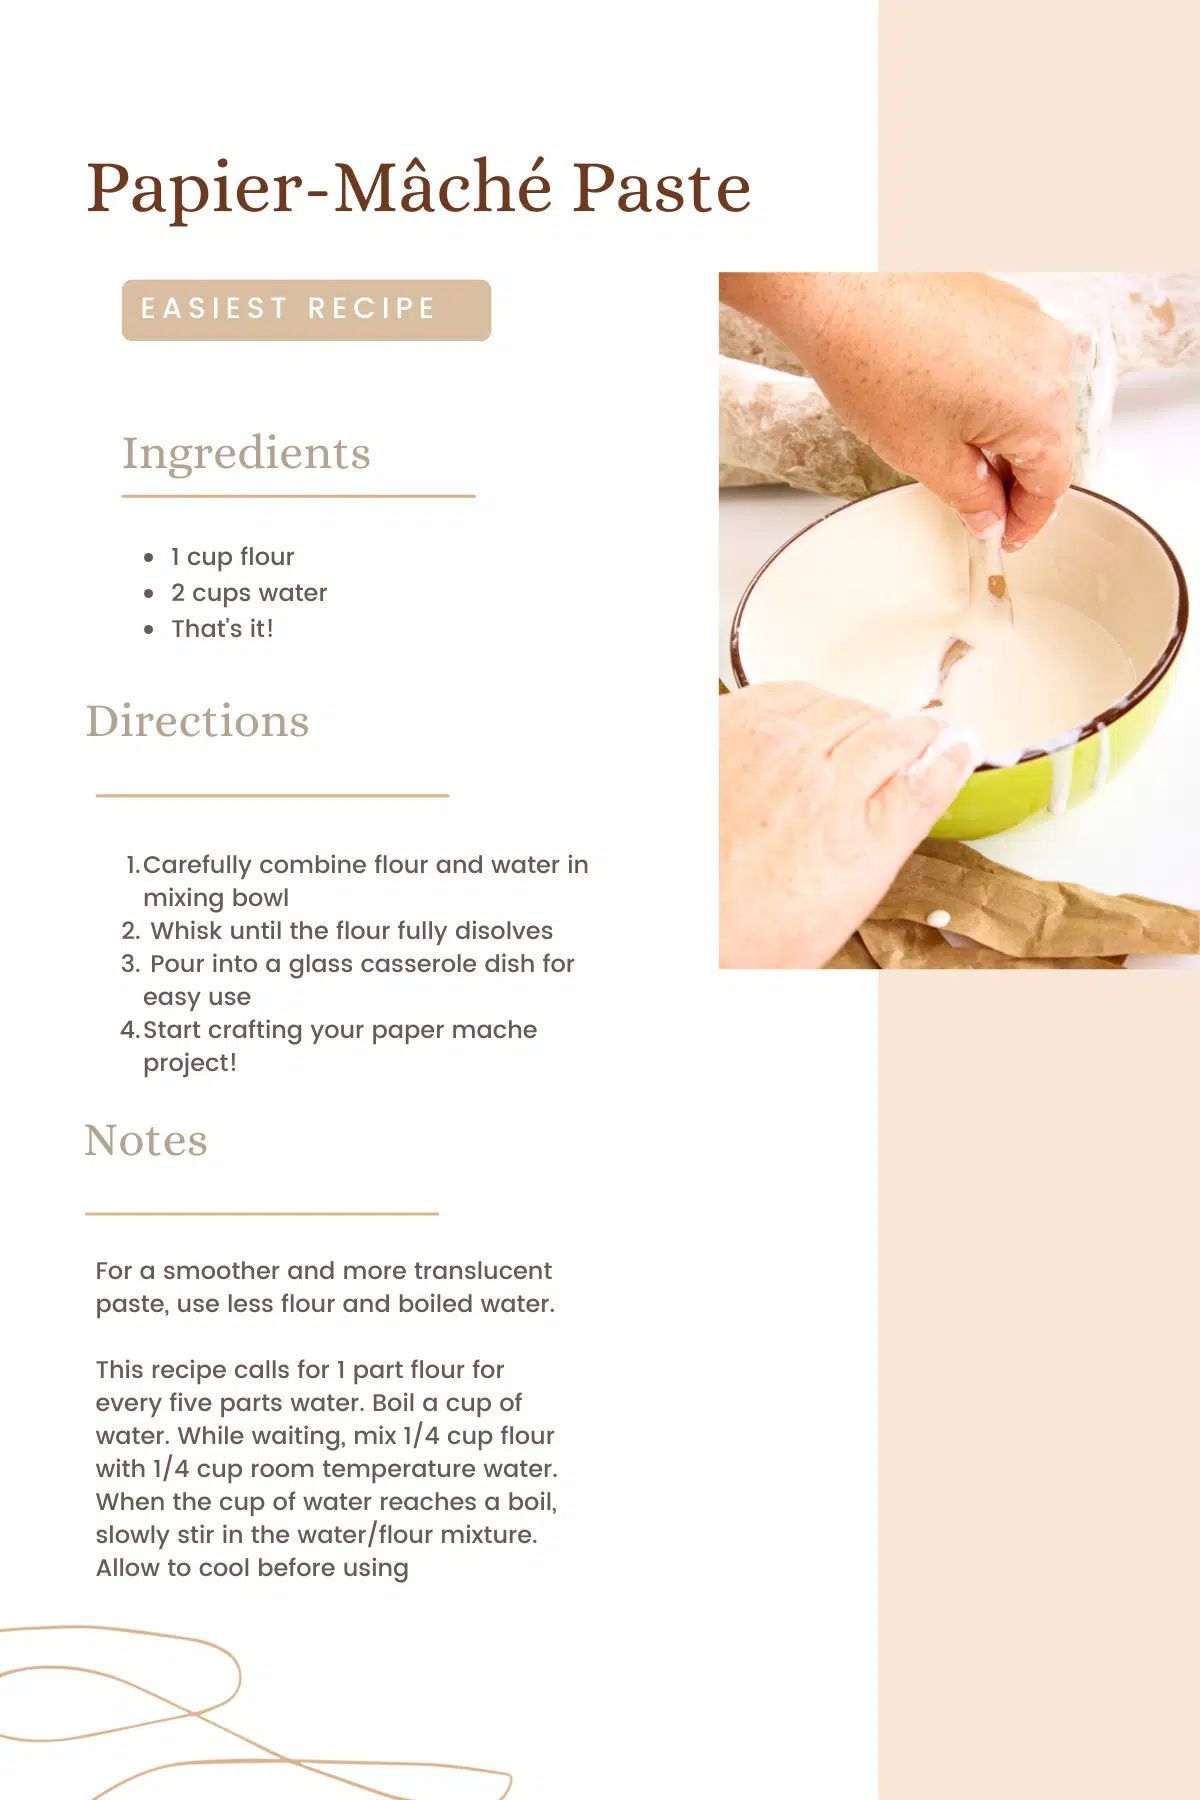
Place your water in a mixing bowl, then slowly add the flour while stirring. Stop adding flour to smooth out any bumps along the way and ensure that the flour all dissolves.
Once you add all the flour to the bowl, keep mixing until the liquid is smooth.
That’s all it takes to make papier-mâché paste!
More Papier-Mâché Recipes
Although cold water and flour is the easiest way to make papier-mâché paste, two more simple recipes slightly change the look and feel of the project.
Decide which works best for the papier-mâché crafts you want to create.
Hot Water and Flour
For a smoother, more translucent paste, consider using hot water rather than cold. You’ll use an approximately 5 to 1 ratio of flour and water for this papier-mâché paste, which means you’d use ¼ cup flour for every 1 and ¼ cups water.
Mix your flour into ¼ cup of cool or room temperature water while bringing the rest of the water to a boil. Once it’s hot, slowly stir in your water/flour mixture.
It’s imperative to mix the flour into room-temperature water rather than hot water to avoid clumping. If you put the flour directly into the boiling water, it would immediately clump and cook before you had the chance to even it out.
The flour dissolves much better in cool water.
Glue and Water
You can also make paper mâché paste without flour. Use Elmer’s glue instead to avoid the powdery mess flour leaves behind.
This papier-mâché recipe calls for a 4 to 3 ratio of water and glue. Use a full cup of water and ¾ cup of glue. All you have to do is mix them.
Many people don’t have bottles of glue lying around the house, so this recipe may not be ideal unless you’re constantly crafting.
Glue may be cheap, but if you want a quick craft project from things you already have at home, this papier-mâché recipe may not work.
How Do You Make Papier-Mâché?
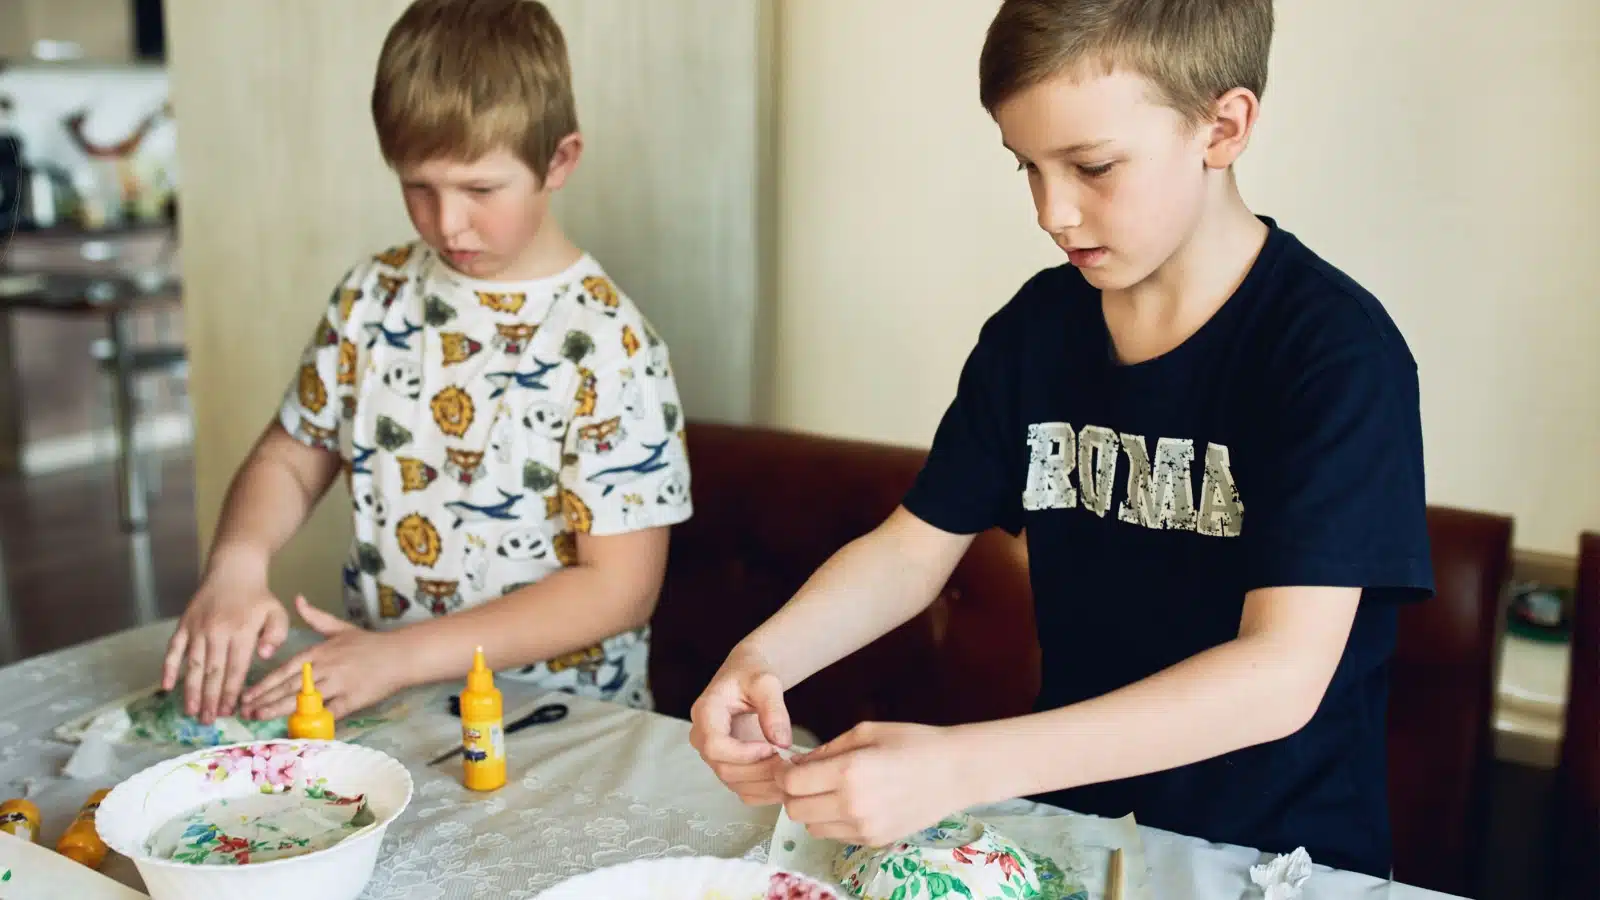
A good papier-mâché recipe includes more than just the paste.
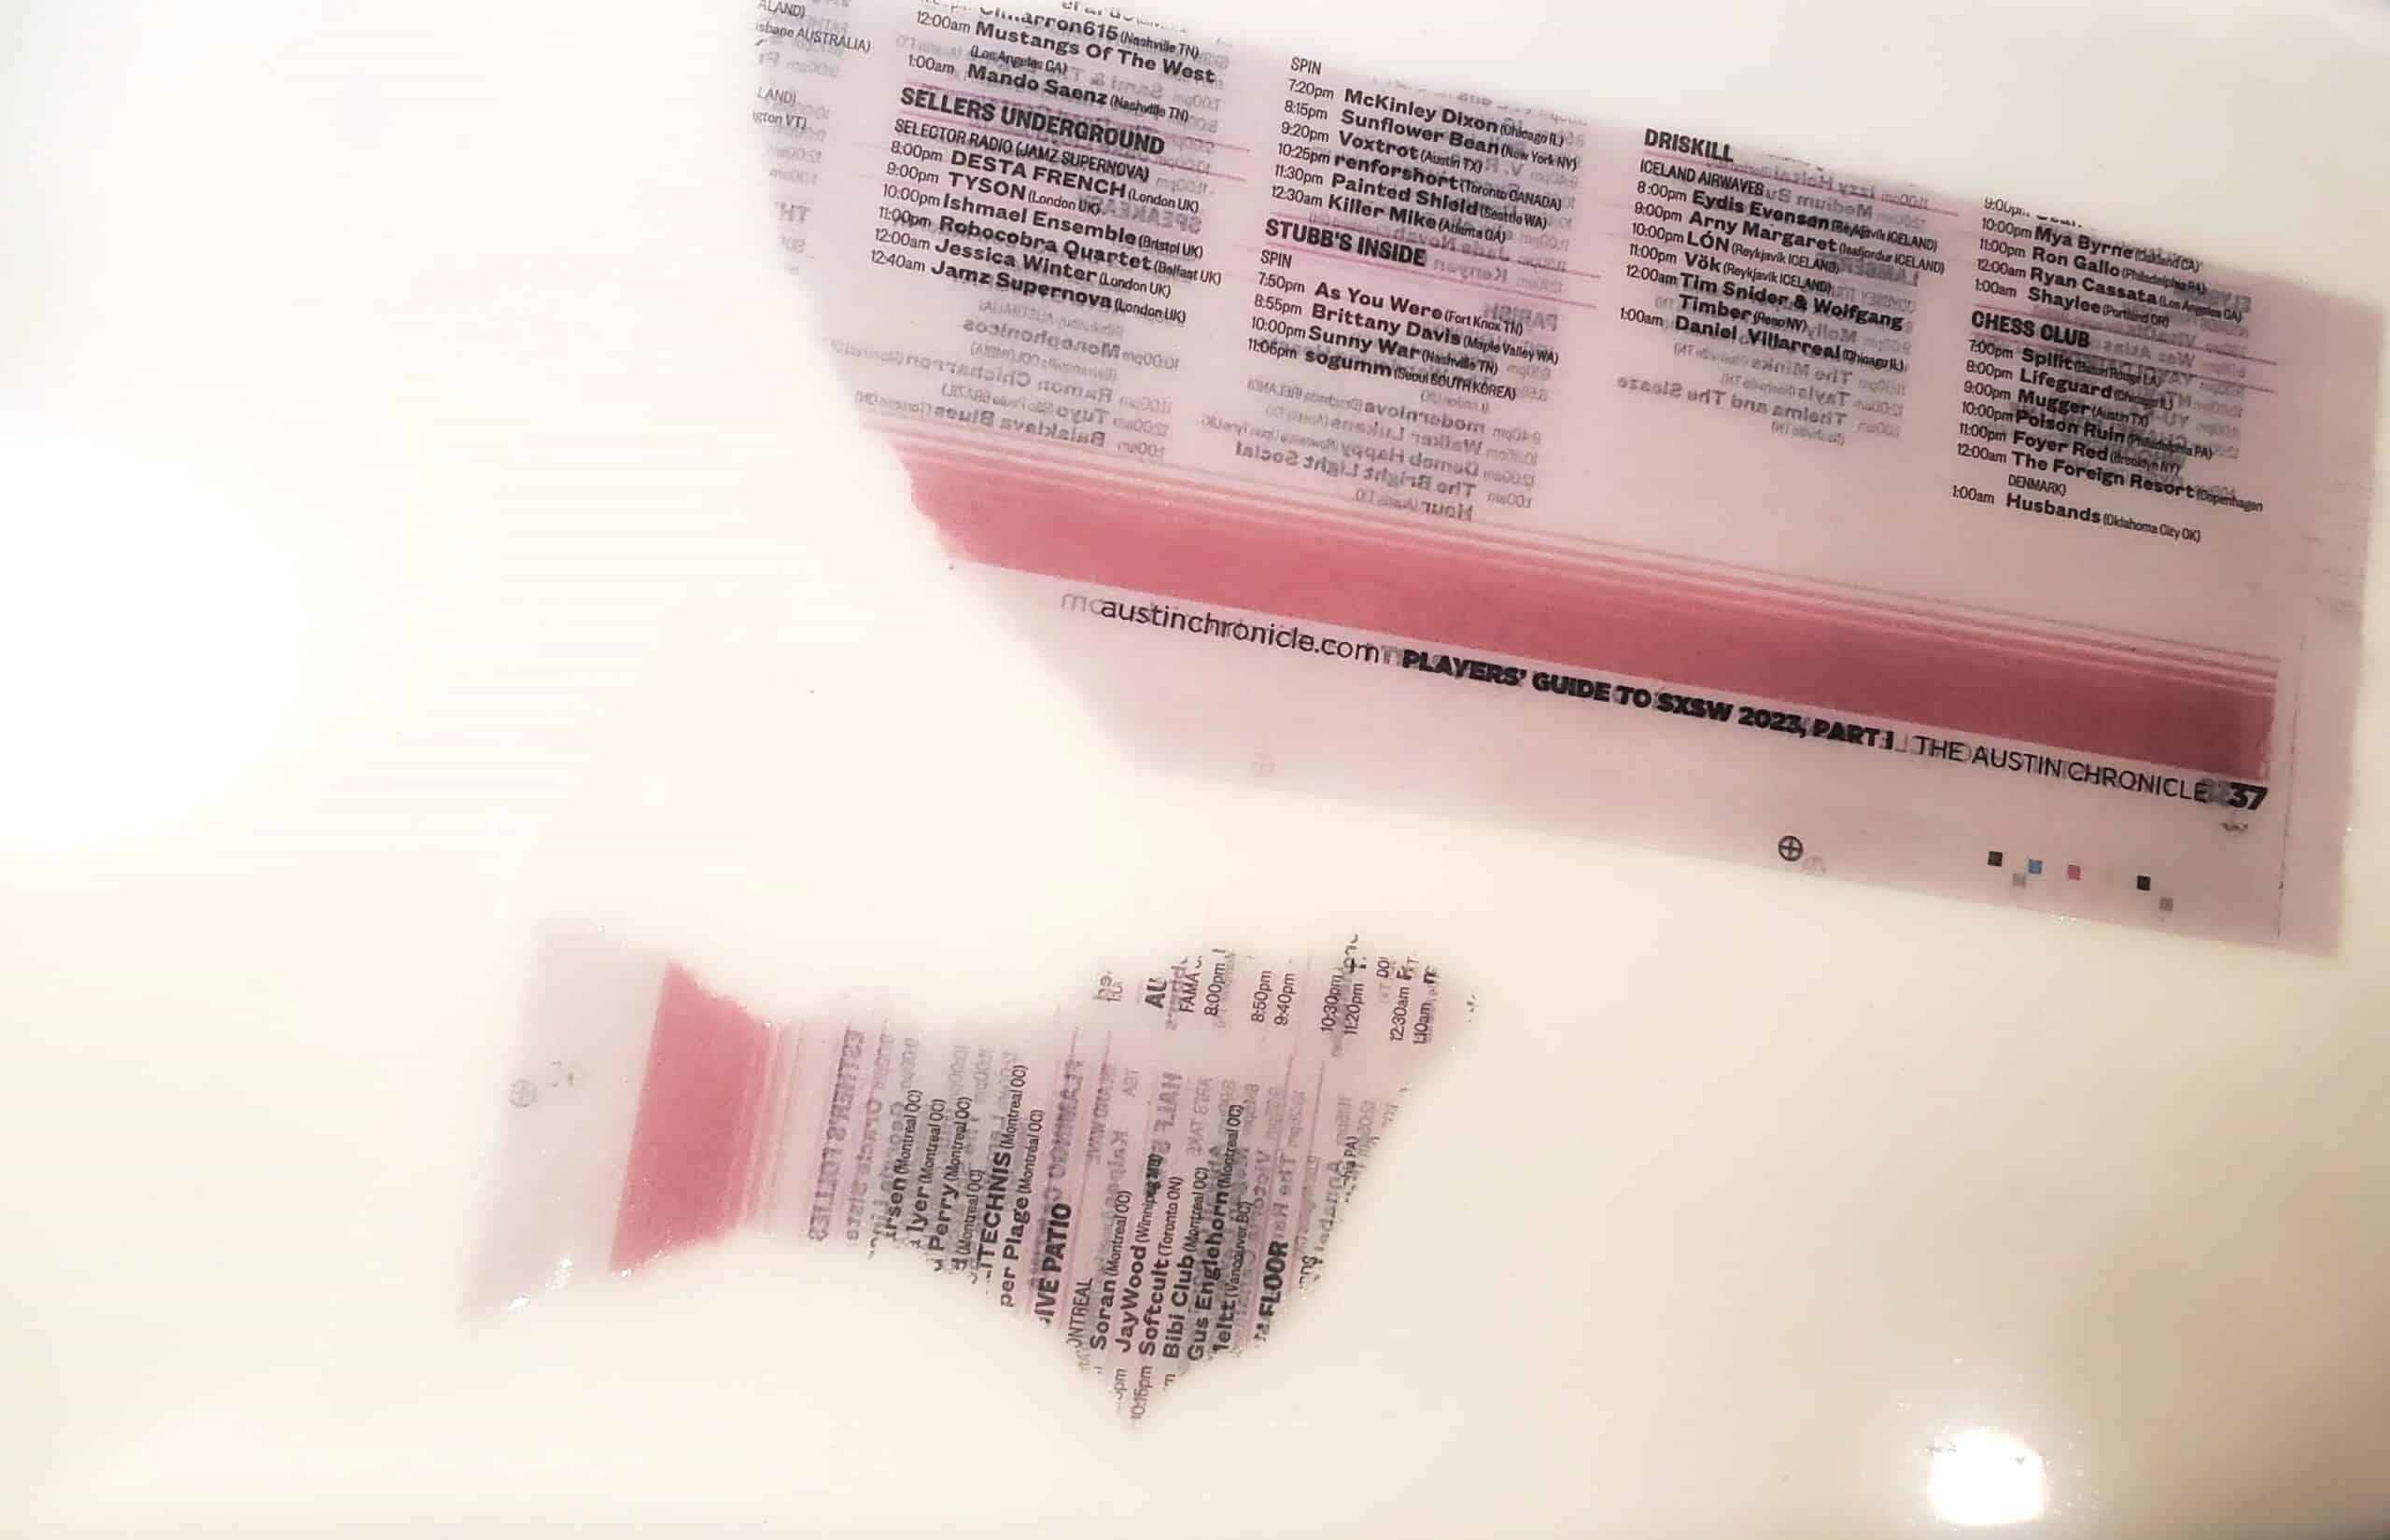
To make something with paper mâché, you’ll also need paper (old newspapers work best; traditional paper and craft papers may not absorb the paste as well) and something to use as a mold.
Once you’re done mixing your papier-mâché paste, pour it into a larger bowl or dish that’s easier to use than a mixing bowl.

I like to use a glass casserole dish, as the long, rectangular shape makes it easy to lay newspaper strips without bunching them up.
The Paper Part
Ripping is the most straightforward way to make paper mâché strips. Newspaper tears easily, so you can simply rip the old papers into the size strips you want.
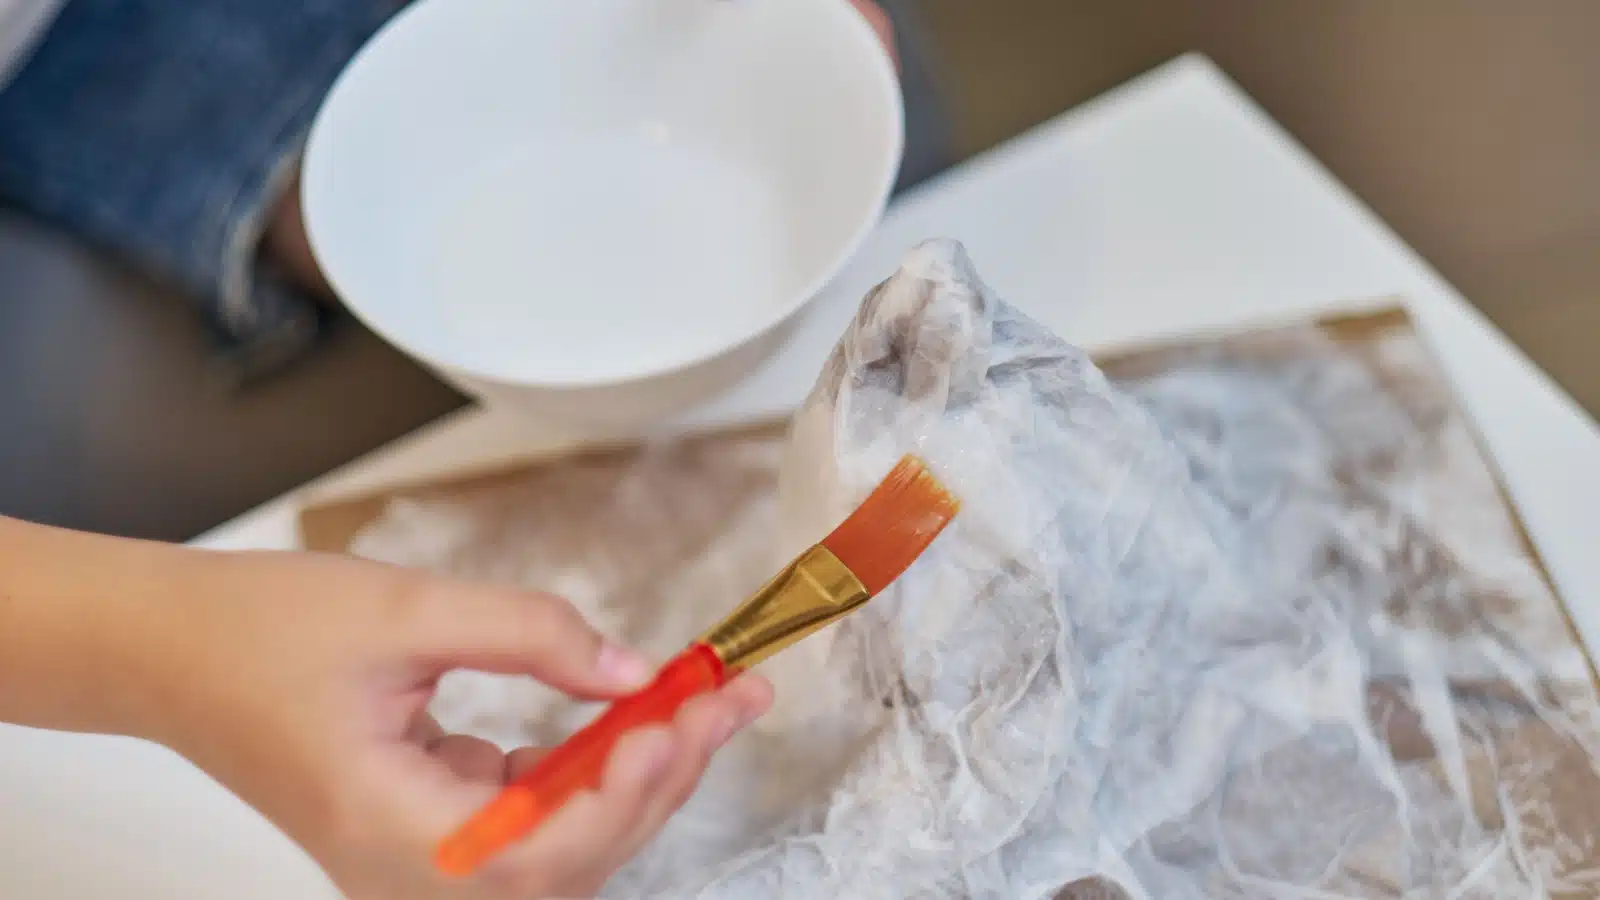
Place your ripped strips in the papier-mâché paste until they’re well saturated. Dip both sides in the paste or press the strips until fully submerged.
When the strip is completely saturated, take it out and lay it on your mold. Repeat this process until your mold is completely covered with paper mâché strips.
For more uniform strips, you can measure and cut with scissors. Scissors are also ideal if you use thicker paper that’s harder to tear.
How Long Does Papier-Mâché Take to Dry?
Once your mold is complete, you’ll have to wait for the papier-mâché to dry before doing anything else.
For best results, leave it alone and allow it to dry on its own. Expect most projects to take about 24 hours to dry completely. Results may vary based on factors such as room temperature, humidity, and the number of paper mâché layers in the project.
Use a hair dryer if you need the papier-mâché to dry quickly. Use a lower setting and evenly run the hair dryer over the entire piece until it dries completely.
Best Papier-Mâché Molds
Crafting with papier-mâché is difficult if you don’t have something to stick the strips on. Using a mold helps.
The good news is that you likely have something lying around the house. Consider what you want to make with your papier-mâché, and use something with a similar shape.
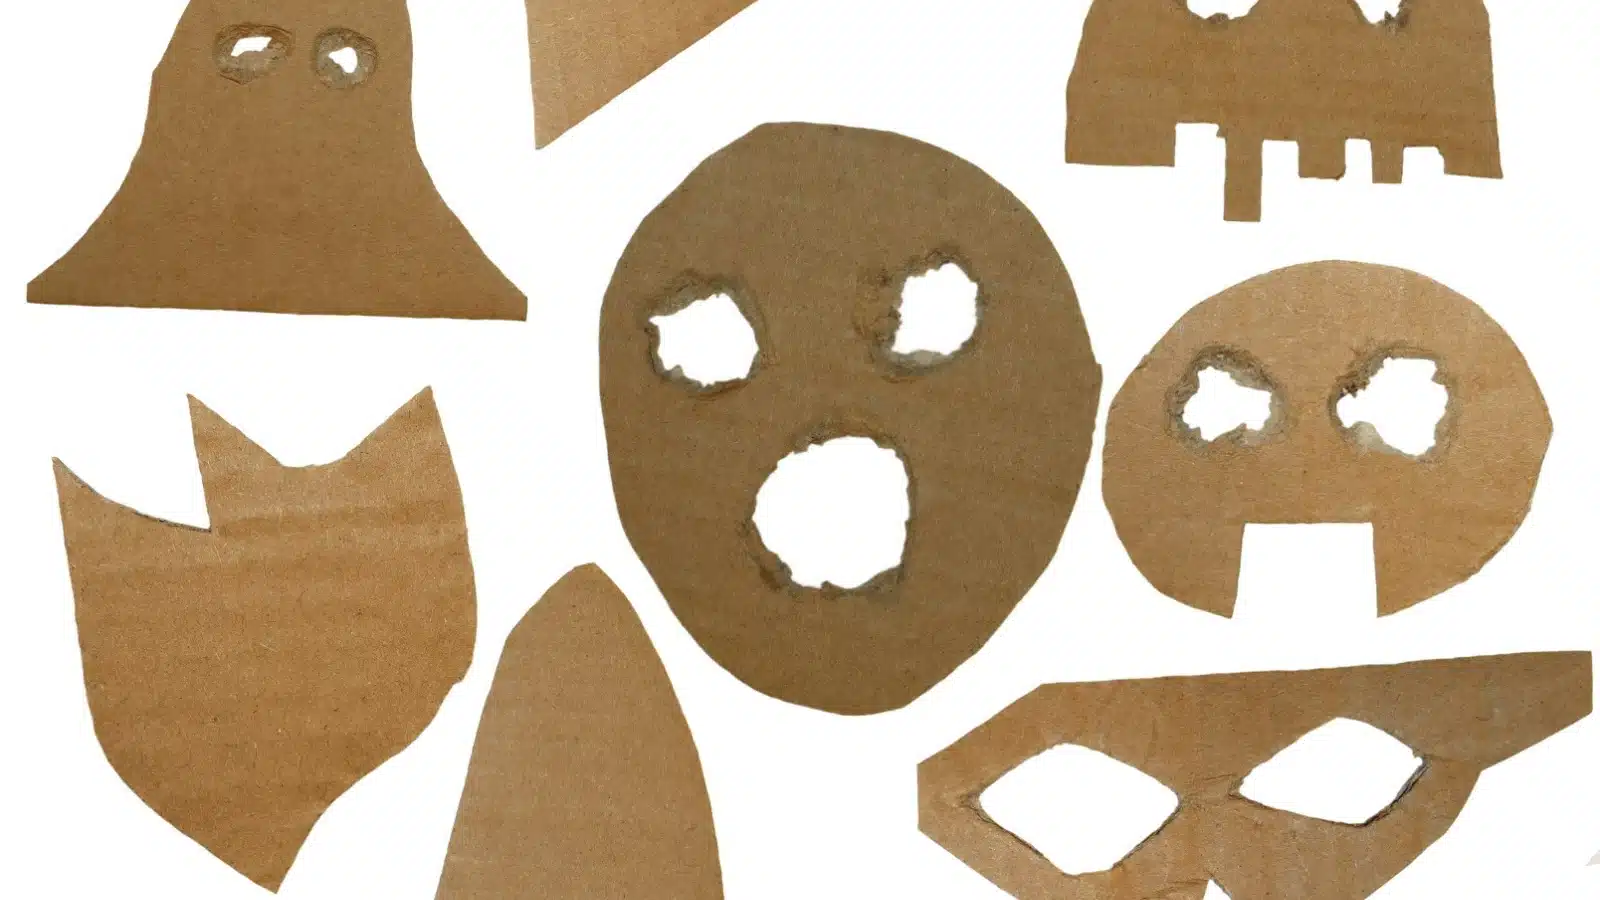
Balloons make ideal molds because you can blow them up to whatever size you need, and the round shape allows you to create various items, like masks and decorations. You can also simply pop the balloon when dry, leaving only the papier-mâché.
Other items can be used as well. For cylinders, use toilet paper or paper towel rolls. Consider cutting stars, circles, or other unique shapes from old cardboard boxes. Use empty water bottles, pop cans, cereal boxes, egg cartons, and coffee cans.
Be careful to only use items you don’t need. Often, the mold will become part of the papier-mâché project, and you won’t get it back.
Sometimes, you can cut the papier-mâché off the mold, but the papier-mâché paste, made from water and flour, will likely damage it.
You Don’t Always Need a Mold
When you become a papier-mâché pro, you may no longer need a mold. Sometimes, you can start with a little bunched-up paper and use the papier-mâché to create your shapes.
You can create papier-mâché bunnies, kittens, monsters, and all sorts of cool projects this way.
Papier-Mâché Ideas

The only limitation to what you can make with papier-mâché is your imagination.
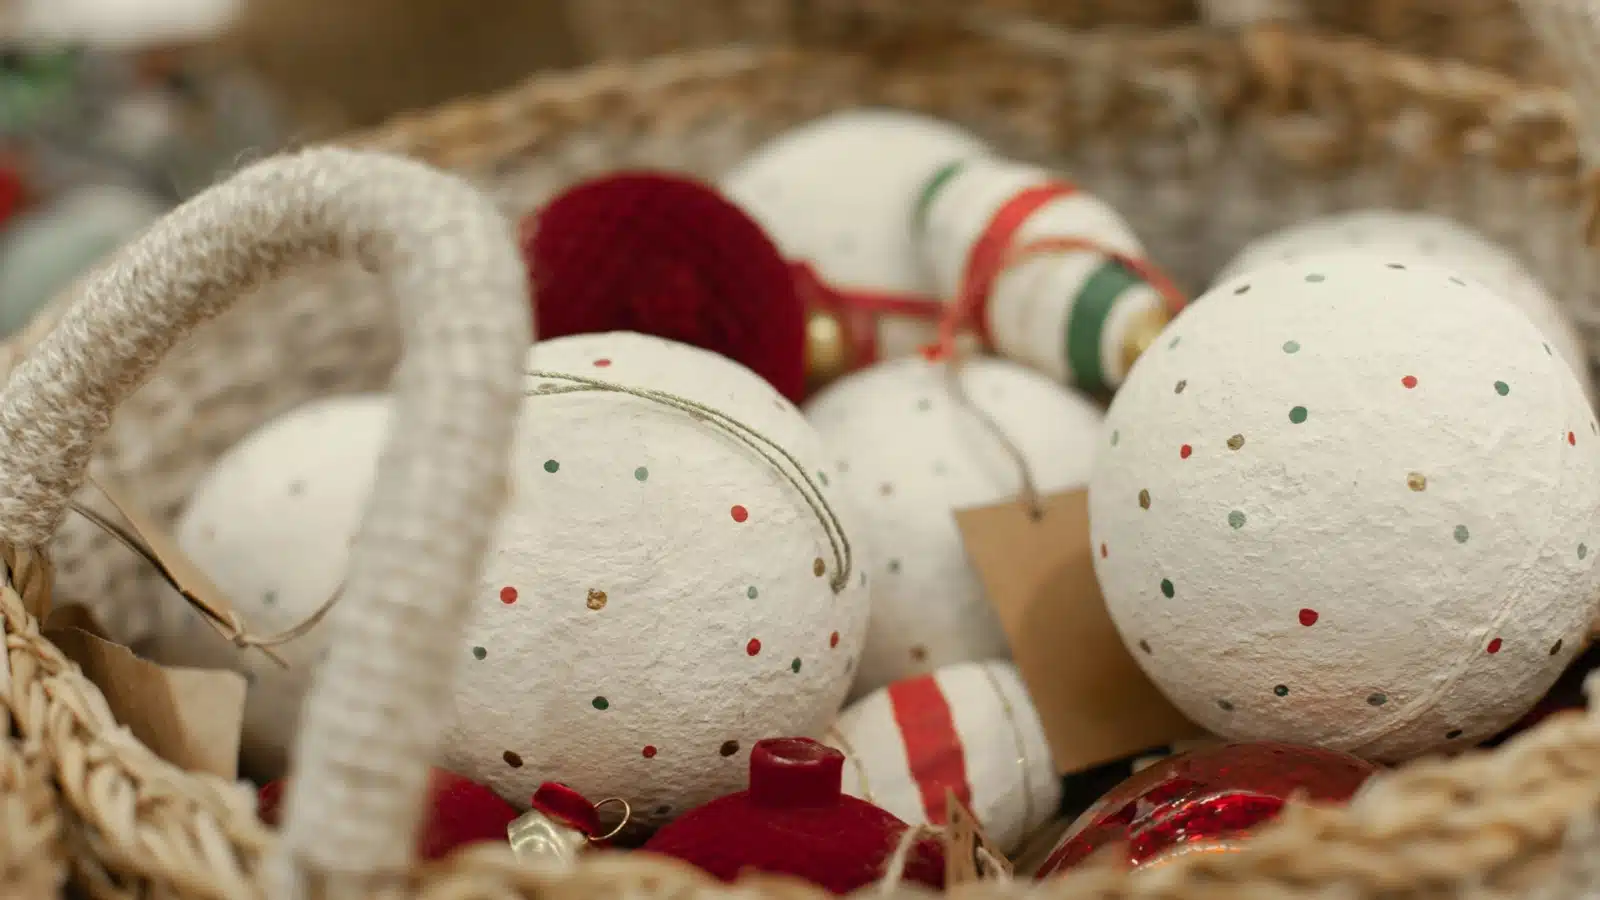
People use the craft to create decorations for every holiday, including Halloween masks, Christmas ornaments, Thanksgiving centerpieces, and more.
Designers use papier-mâché to craft cosplay, make weapon replicas, or even design puppets, while artists use it to add texture to their works. A few strips of papier-mâché can change the entire structure of a painting. It’s also a fantastic medium for collage.
Papier-mâché is perfect for parties. It’s the ideal way to craft a homemade piñata filled with candy and create unique decorations based on the event’s theme.
Students rely on papier-mâché for school projects. Use it to make your volcano science fair project or as a base for art projects.
The possibilities are endless.
How To Decorate Papier-Mâché
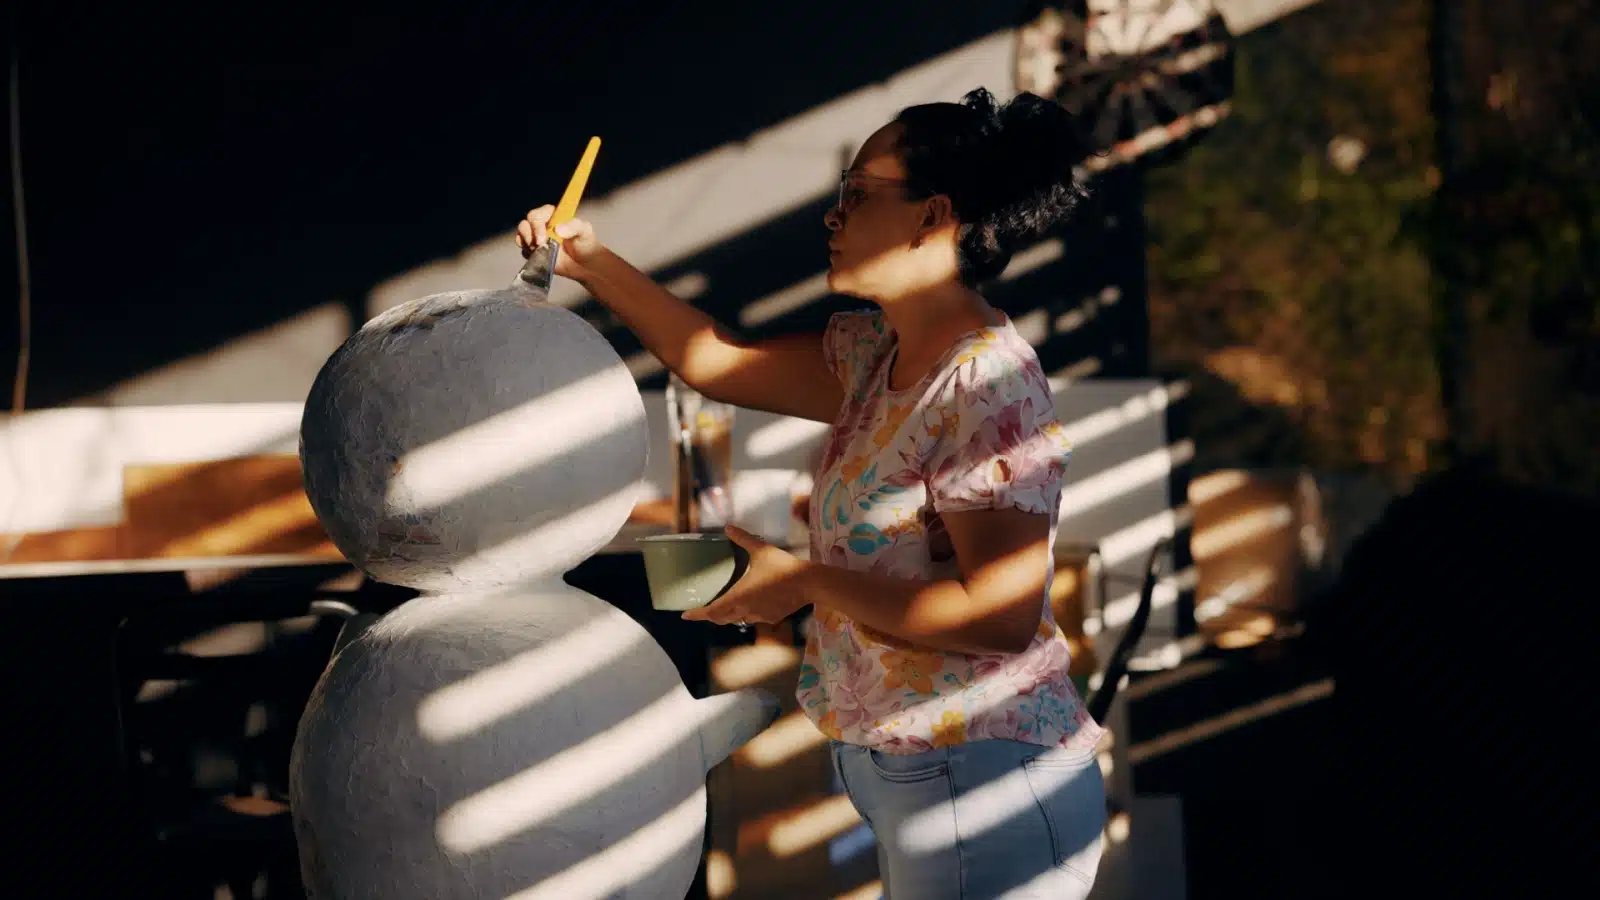
When your papier-mâché craft dries, you can start decorating it.
For best results, use acrylic craft paint. These paints are designed for all types of crafts, including papier-mâché. They go on smoothly and dry quickly, allowing you to add multiple layers of color.
You can still blend acrylic colors to get the perfect shade, but you must work quickly. Mix the paint on the palette for the correct shade before applying it for the best results.
Although oil paints are best for blending, they don’t work as well for papier-mâché projects, as the paper absorbs the oils. Watercolor is too runny for papier-mâché in general. You will need a lot of pigment to cover the lettering on the newspaper if you opt for watercolor.
Of course, the limitations of watercolor and oil don’t apply if you’re using papier-mâché in a work of fine art. In these instances, you may want the lettering of the old newspaper to stand out under the color, in which case watercolor and a light layer of oil may work fine.
After the paint dries, you can decorate your papier-mâché project with glitter, stickers, beads, yarn, or anything else you have on hand.
Get To Crafting with Papier-Mâché
Paper mâché is one of the easiest craft projects to do at home. You likely already have everything you need lying around the house, so why not try it?
The only limit to what you can make is your imagination.