
Are you ready to master painting?
Regardless of what style of art you wish to make, starting is the hardest part. You have all this pent-up excitement driving you to create, but it’s frustrating when your skills don’t align with your desires.
Never fear. Our guide to painting for beginners will help you curb your expectations, focus on the essentials, and get a head start on your painting career.
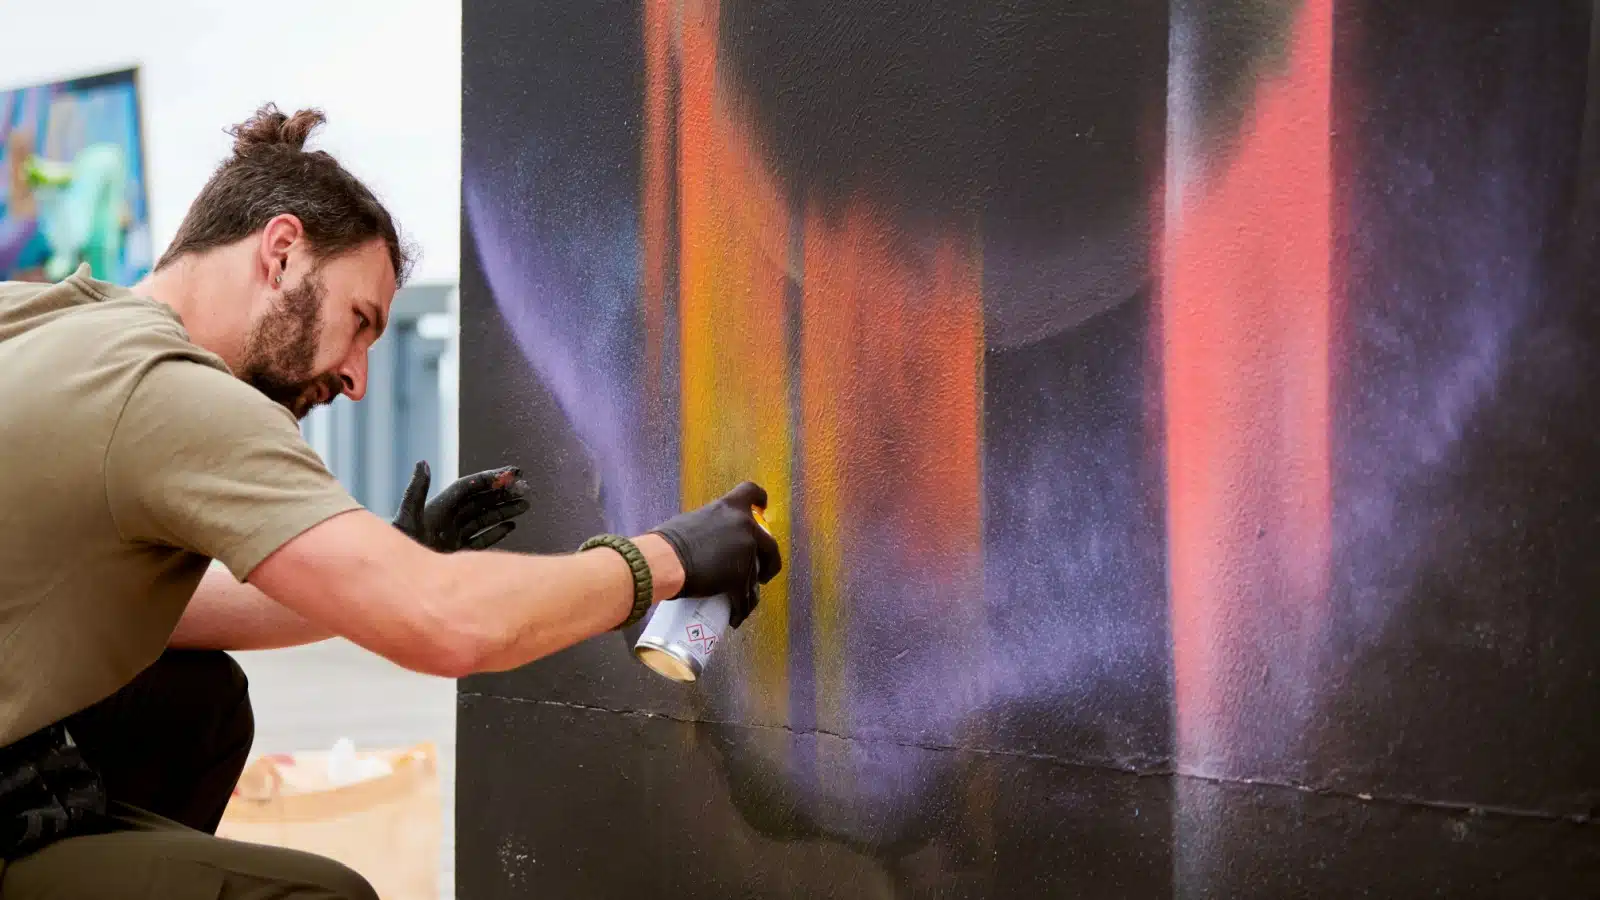
Beginner Painting Hurdles

Lysenko Andrii via Shutterstock.com.
The biggest hurdle for aspiring artists is knowing where to start.
The internet abounds with an overwhelming abundance of information, all screaming for your attention.
What will really help? Where should you focus?
I’ve been painting for nearly 20 years, and I can help you cut through the nonsense and focus on the crucial aspects of learning the art.
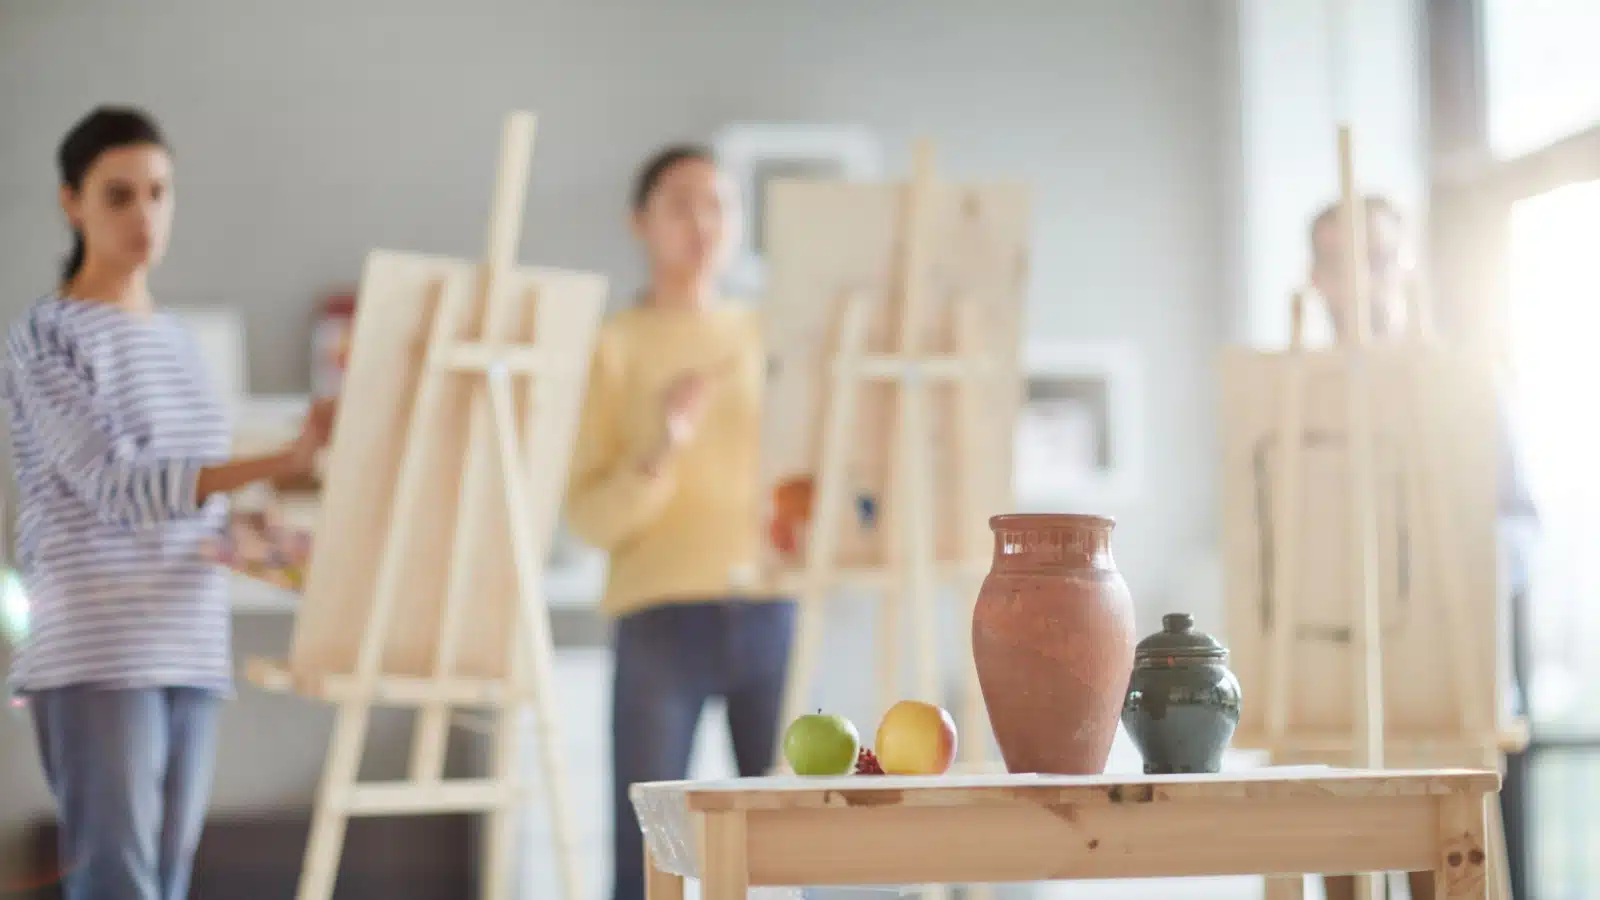
From Beginner to Intermediate Skill Level in Painting
Beginners often get stuck at the first skill level. They never ascend to intermediate because they learn one thing and fall into an endless loop of duplicating it in different pieces, thinking they’re doing something new.
We will break away from that by exploring concepts that will catapult you to intermediate-level painting without taking any classes.
Painting for Beginners
Our beginner’s guide to painting will help you stick with it long enough to show gratifying progress.
If you focus on these nine tips, you’ll become a skilled painter in no time:
- The Technical Stuff
- Art Gimmicks To Avoid
- Why Repetition Leads to Success
- Permission to Make Changes
- Finding the Right Aspect Ratio
- Drawing First
- From Life 101
- From Photographs 101
- What to Practice
- Final Exam
I lean heavily toward drawing as a design tool leading into a finished oil painting because that’s my medium of choice, but the same concepts will help you craft a finished piece of art in acrylic, watercolor, gouache, or even digital media.
Keep these concepts and practices as a foundation as you apply them in the medium of your choice.
The Technical Stuff
Creating art is often most interesting when we’re bending or breaking the rules, but before you can use rebellious techniques that catch attention, you’ve got to learn how to color inside the lines.
Most beginner’s art courses will focus heavily on the technical from the start. They’ll discuss how you hold your paintbrush or pencil while deep-diving into subject matter, atmosphere, and structure.
While learning the basics is essential, you can get most of that from a simple YouTube video.
Every artist will adapt the basics to find their unique style, depending on their influences, subject matter, medium, philosophy, training, and any other influences.
However, every painter must be aware of a handful of technical skills before starting.
Color Theory
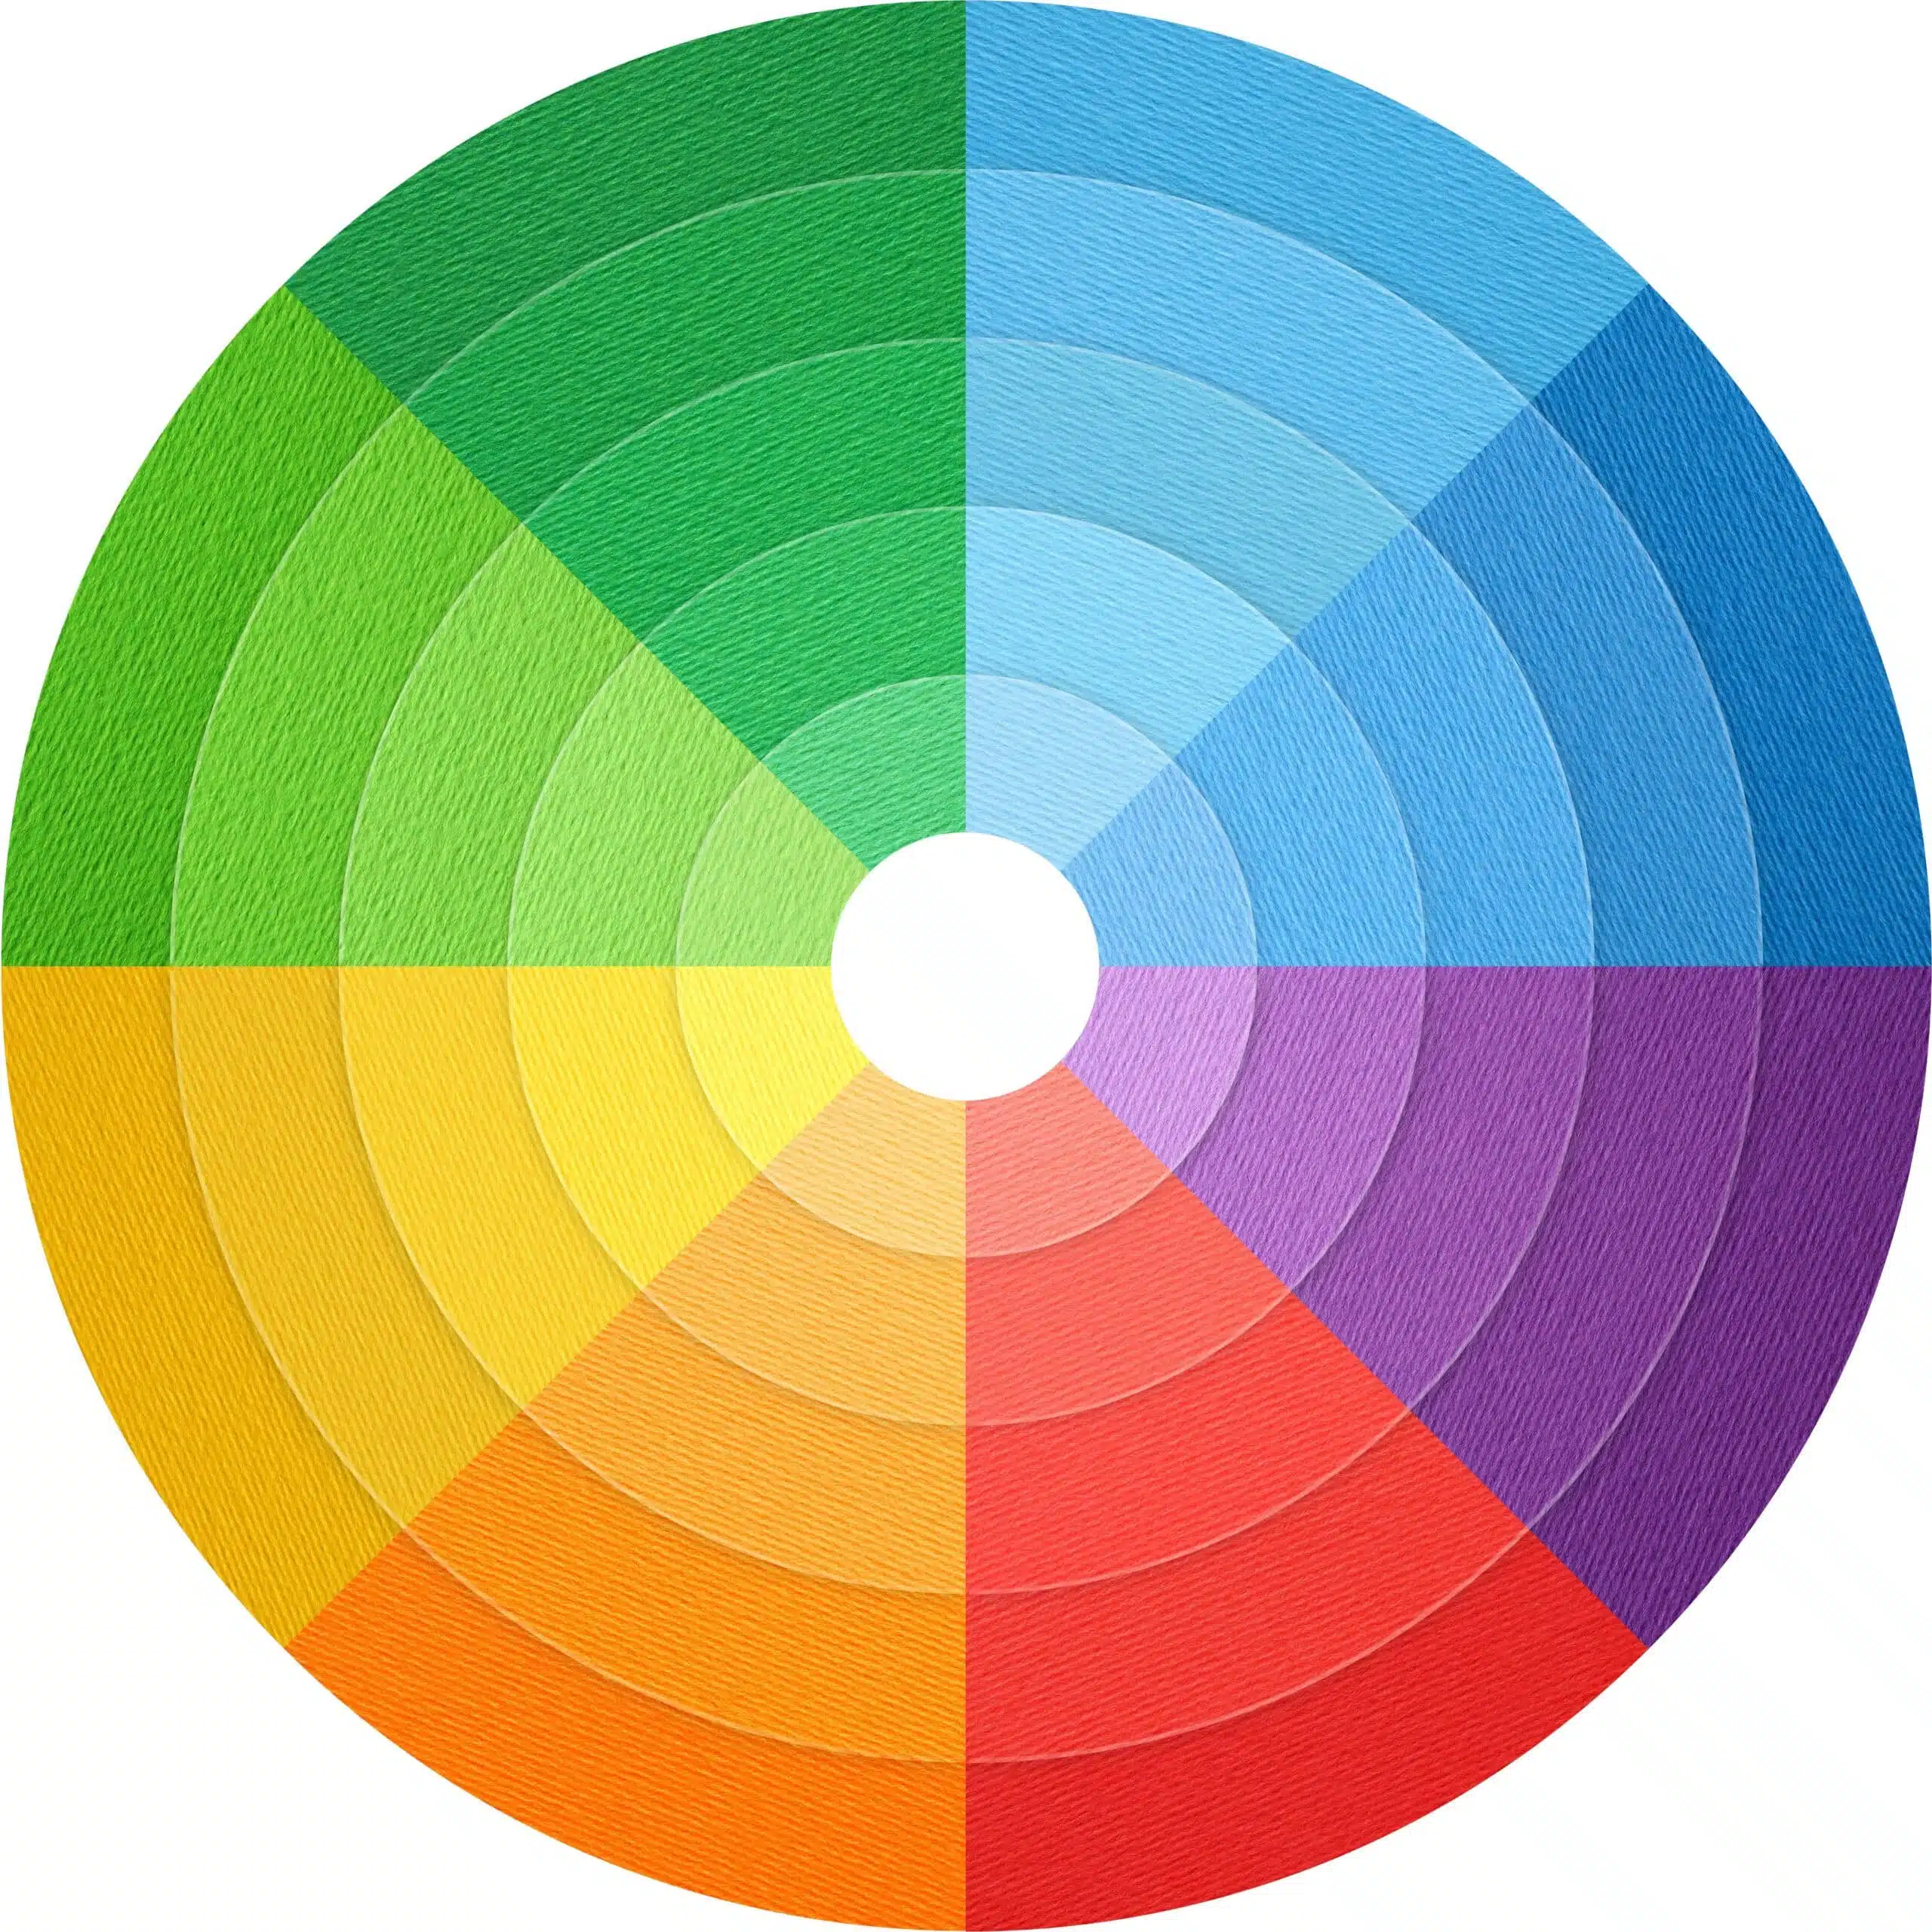
Print out a copy of the color wheel and keep it with you. Learn how colors mix to form new shades or how they complement and cancel each other.
Understanding color theory will help you mix the perfect shade every time and help bring your subject matter to life.
Shading and Layering
Think of your paintings as layers from dark to light. Start laying in the darkest parts of your piece first, then layer the lighter colors on top.
As you refine your process, you can change it, but this method will help you understand the interaction between the darkest and lightest shades.
Observation
Understanding the relationship between observation and painting is crucial to success. What is painting, if not observing something and transferring what you see to canvas?
You’ll find that observation is a central theme for painting for beginners.
Art Gimmicks to Avoid
If you want to become a serious artist, you must avoid the popular trends and gimmicks.
Far too many beginners try to ride the wave of what’s popular. That’s a distraction that will lead to burnout.
Usually, things become popular because they are unique, and they lose that appeal when everyone jumps on the bandwagon. In chasing the trend, you’ll abandon your own style and end up with nothing to show for it.
Instead, find interest and beauty in the things you see and use those to create original work. Let others mimic you.
Of course, there’s nothing wrong with finding inspiration in the work of great artists. But rather than copy their style, study their process to refine your own.
Embrace Repetition

If you really want to learn to paint, you must challenge yourself to truly explore the form and function of what you’re painting.
It’s too easy to fall into the trap of painting something different every time you paint. Although fun, it doesn’t let you refine your style.
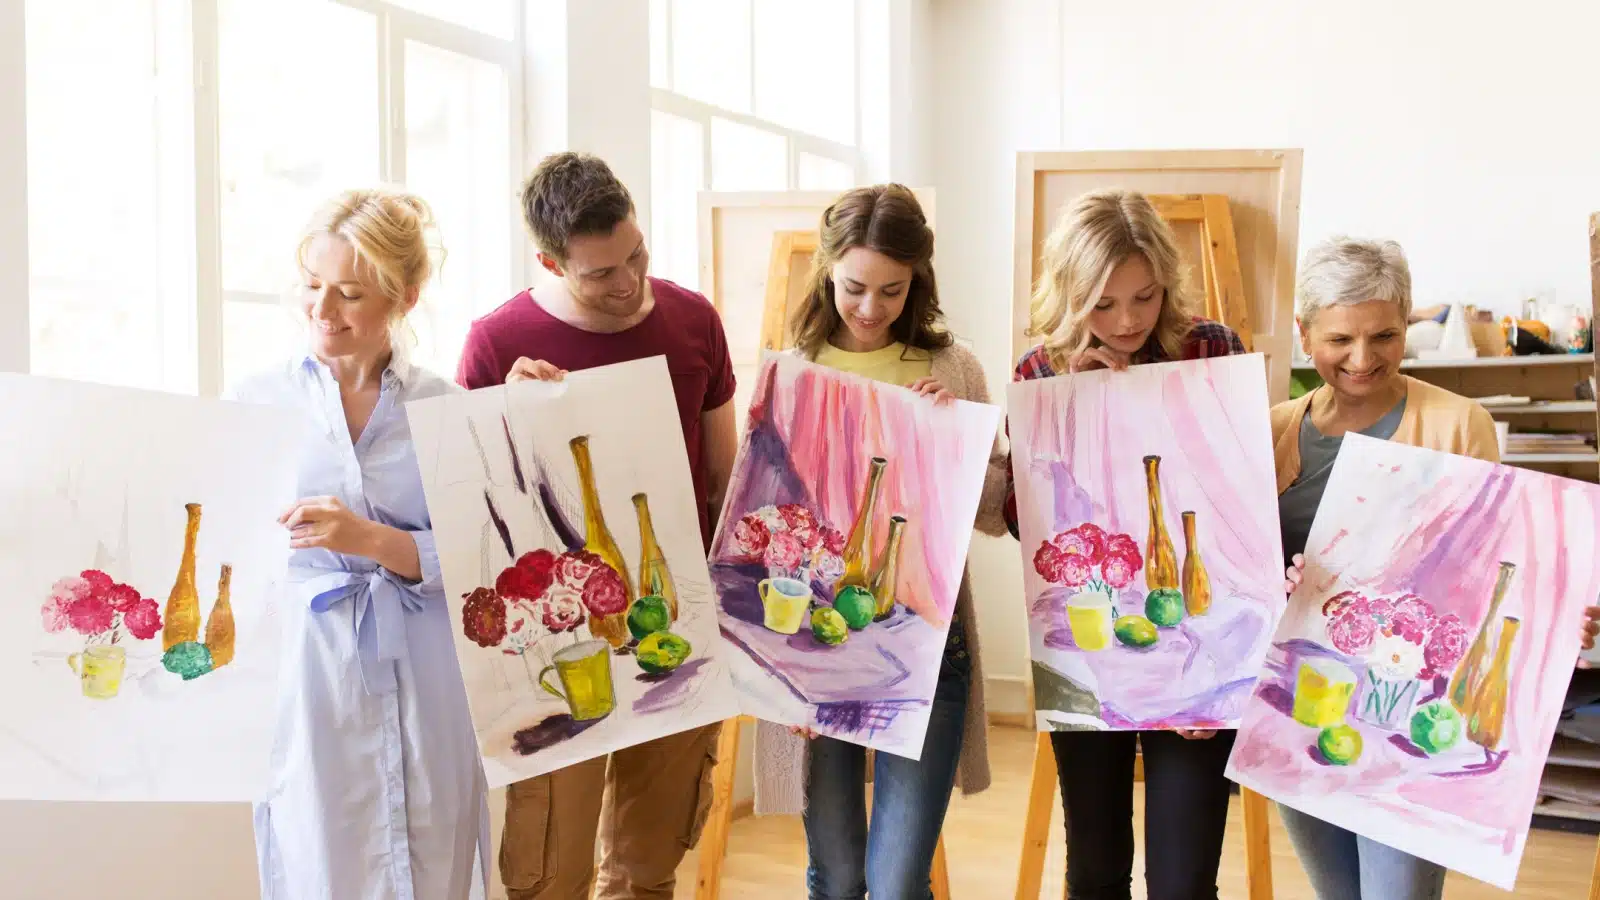
Instead, study an object through paint. Create a series of pieces of that object, exploring different styles and refining your techniques. Do ten paintings of the same subject, and one of them, not all of them, will have something that is truly a work of art to behold.
Permission To Make Changes
Many painting for beginners courses force you to paint the subject exactly how you see it. While that will help you learn the technical aspects of the work, it won’t help you develop your unique style.
Therefore, I’m officially giving you permission to change things if it makes them look better.
It’s your job as an artist not to paint everything precisely how you see it. Paint it to look good or better represent the atmosphere, emotional vibe, and spirit of the subject that inspires you about what you’re observing.
You’re not a photographer; you’re an artist.
Find the Right Aspect Ratio
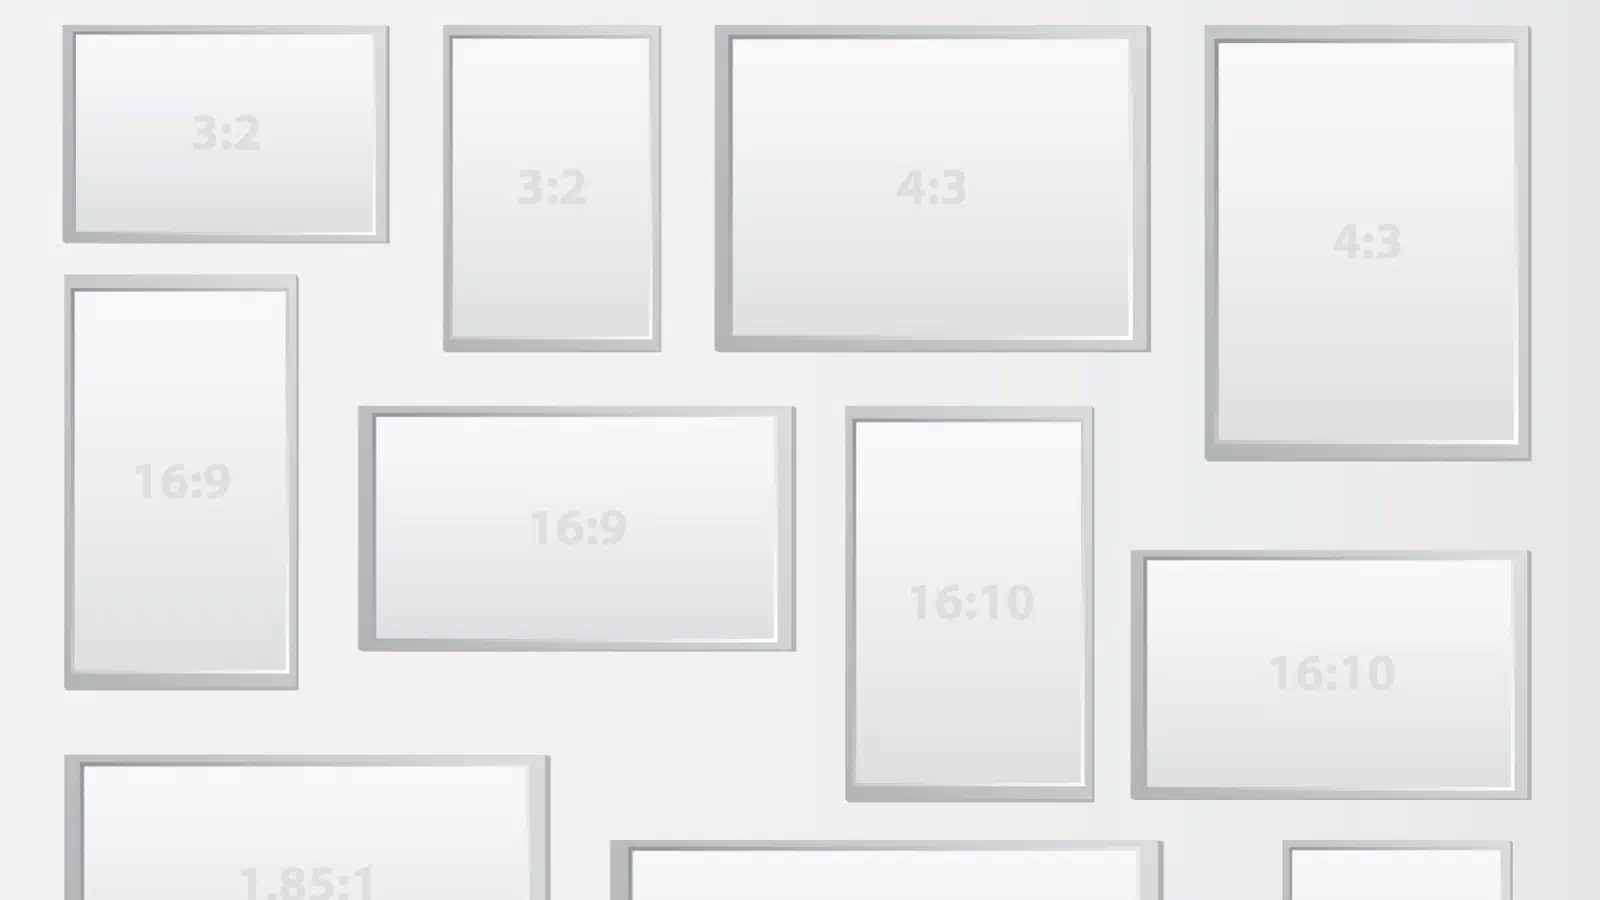
Have you ever started a picture only to realize you don’t have enough room to paint without the objects running off the edge? Maybe you started too large for the space or too far over to one side.
Finding the correct aspect ratio before you start will help.
What is Aspect Ratio?
Aspect Ratio is the measurement of the horizontal edge of your canvas divided by the vertical edge. An aspect ratio is proportional, meaning you can blow it up or squeeze it down if you change each edge by the same amount.
For example, a 2×2 aspect ratio is the same as 4×4 and 8×8. They’re all squares.
An 8×10 is the same as a 4×5 (8/2 = 4; 10/2=5) and the same as a 24×30 (8*3=24, 10*3=30).
You can understand why aspect ratio is crucial to designing your work by imagining a 10” x 30” canvas sitting next to a 24” x 30” canvas. As you can imagine, the 10×30 will seem much wider compared to the 24×30, even though the longest edge of each canvas is the same.
The aspect ratio helps you determine where the edges of your painting will be so you know how big to make all the objects. It tells you how to frame your drawing or painting subject.
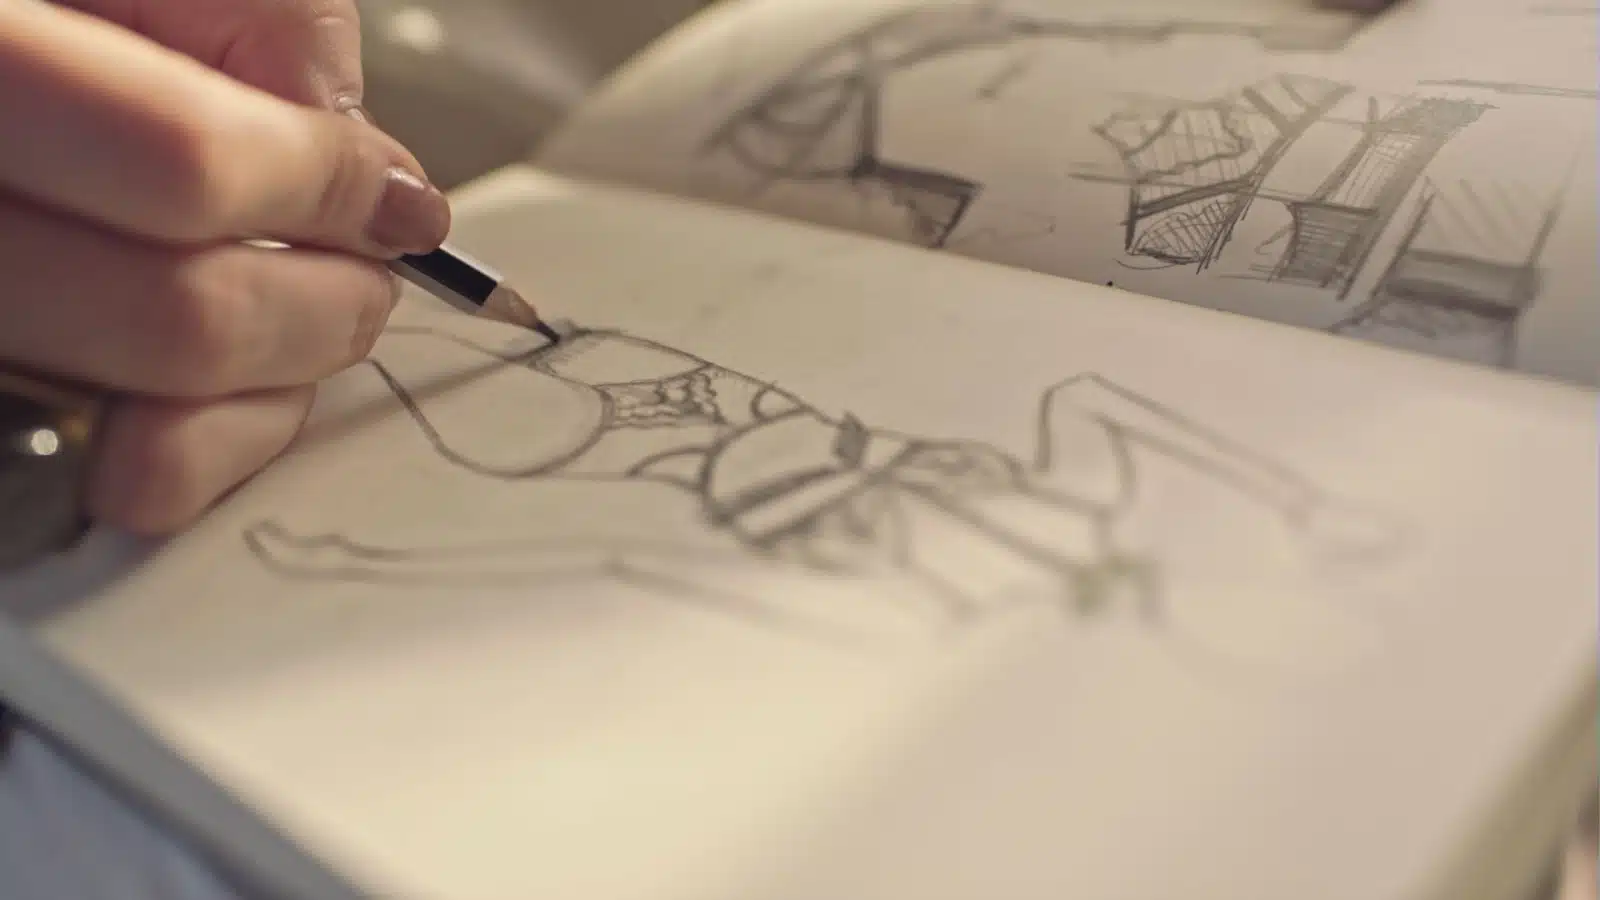
Drawing First
To get the hang of aspect ratio, go to your sketch pad and draw a bunch of squares with the same aspect ratio as your canvas.
If you’re using an 8” x 10” canvas, you can draw 4” x 5” squares. If you’re using a 24” x 30” canvas, which is big and fun to paint on, you can still draw 4” x 5” squares because the aspect ratio for both canvas sizes is the same.
Practice drawing your scene using the thumbnails as a guide, making sure all the cool things you want to paint will fit together on the canvas the way you like.
They don’t even have to be good drawings; just make sure that after drawing a few thumbnails, you’re pretty confident of how much space the objects and their surroundings need to look right and not run off the edge.
Turning Thumbnails Into the Base Drawing For Your Painting
There’s just something magical about it, the way you don’t see the thing until you’re trying to make sense of it with visual reproduction.
Observing your subject closely while sketching will help your painting look better later, so take your time. If your thumbnails don’t look right, erase the distracting lines and reinforce the lines you think look right.
When you’ve got a tight drawing that fits well in your thumbnail space, do the same thing on your canvas, just slightly bigger.
Remember that your drawing will be completely covered with paint later, so don’t worry too much about how it looks; just put as many things in the right general location as you see them in relationship with each other.
How To Make Drawing Easier
Because painting is my primary medium, drawing isn’t a struggle, not how I use it.
Drawing is a design tool; it helps me establish general placement and relationships, but at no point are the drawing lines used as a concrete boundary where one form must be separated from the next. The drawing I lay on my canvas only shows how my scene breaks down into general shapes.
I may outline a figure’s shadow cast across the floor, but when it comes to the painting, what matters is that the shadow helps describe where the subject stands, including the plane of the floor the shadow is cast on.
You can see as your painting evolves how that exact shadow’s edge you drew underneath doesn’t matter if the shadow doesn’t feel right within the context of the painting.
How to Skip Drawing Altogether
The pencil’s limitations are intentional, so I understand people do not want to give graphite much attention. And also, why draw when you can paint?
If you want, you can skip straight to the paintbrush.
You can learn to draw with a paintbrush or get a giant brush and go to town with color without ever learning to draw.
As a beginner, you must do whatever it takes to stay interested.
If you decide that drawing doesn’t fulfill you enough to waste any time on it, or if you have too much difficulty with it, it’s ok.
In one sense, you’re at a disadvantage, as your ability to design from imagination or quickly lay down the skeleton of your vision for a painting will be slightly impaired.
But don’t get discouraged. If you break down all visual art forms, you find they have one basic principle in common: Observation. Drawing, painting, and sculpting are all based on getting better at observing something while getting better at describing it.
Who knows, you may become skilled at drawing through learning to paint.
Painting From Life – 101

Nature is the fastest teacher. Observing nature will help you become a better artist.
Artist James Gurney, creator of Dinotopia, illustrated a world in which dinosaurs and humans live together in adaptive harmony.
Obviously, Gurney couldn’t go to this fantastical land to see how dinosaurs and humans look together as living subjects, so he studied reptiles and museum fossils.
The point is, even if you intend to create something from your imagination that is out of this world, the study of life, the way light moves, and the way distance appears to our eye in nature will teach you how to bring your imaginary creations to life in a believable way.
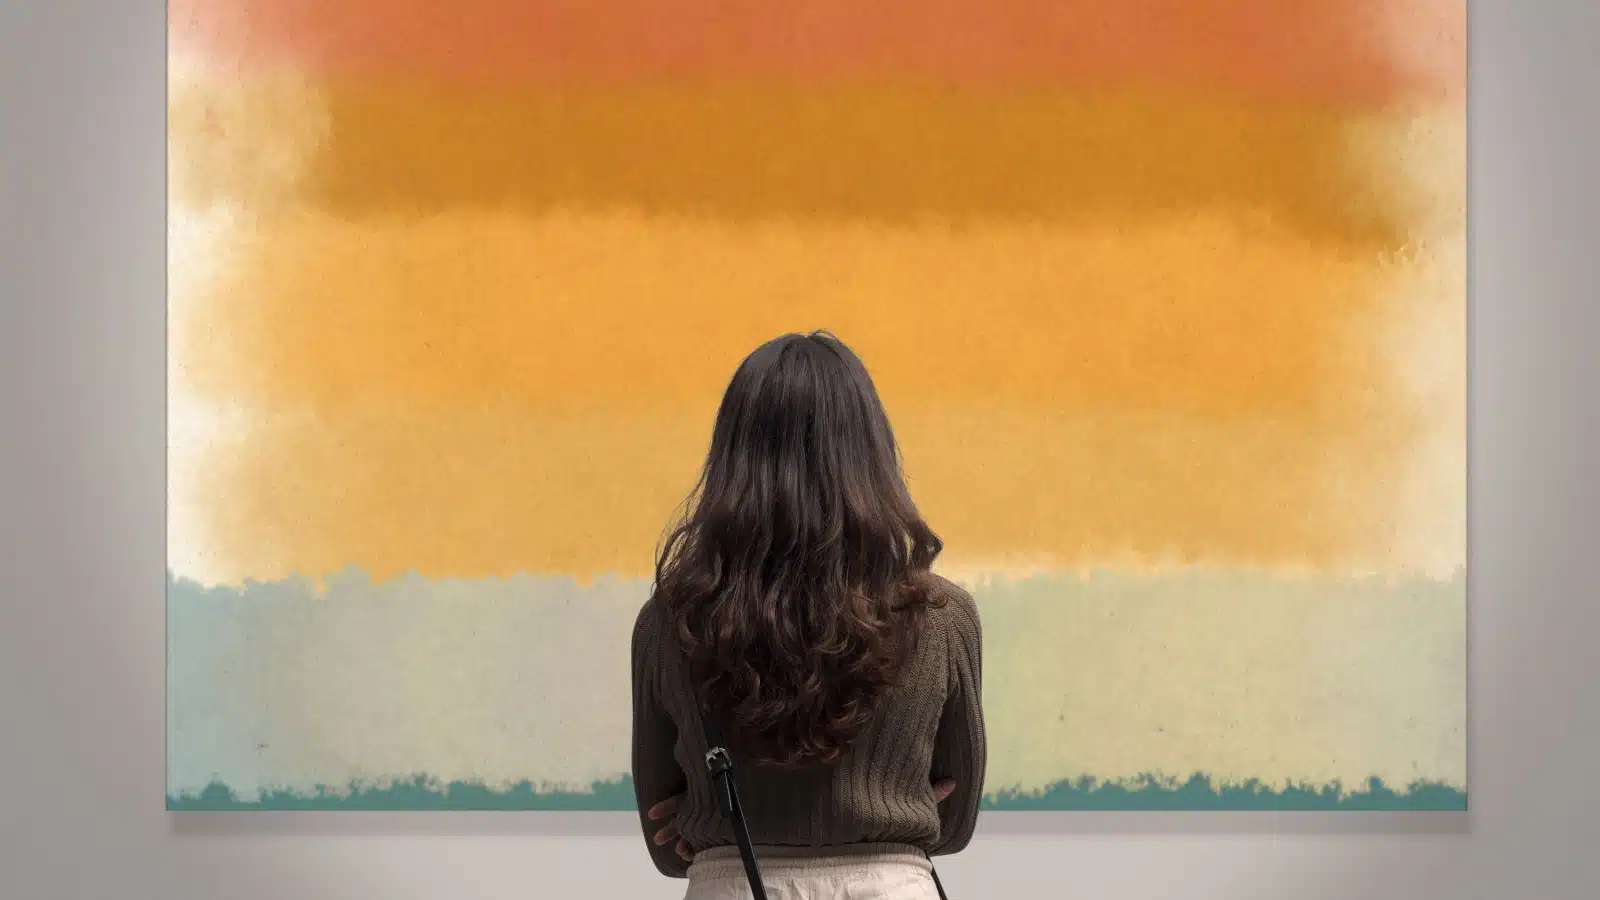
Painting From Photos 101

Andrea Danti via Shutterstock.com.
It’s perfectly reasonable to work from photos, as long as you’re working from photos, with emphasis on the plural.
Working from photos comes with a unique list of pros and cons.
Pros:
- EVERYTHING sits still for a change
- Sometimes, the ability to zoom in can help you make sense of detail
- You can crop an image down to precisely the way you like it, conveniently building in the precise edges of your canvas space
Cons:
- The camera has no idea what you want it to focus on; most of the time
- The camera adjusts the exposure based on the available light, sapping the color and compressing the values of the image
- Because a single uses a single aperture and doesn’t move, a photo can’t display but one image, or 1/120th of the information your two eyes are capable of seeing in a single second. Because of this handicap, a photo can misrepresent the shapes, forms, and play of light on the photographed subject. The more complex the forms captured, the greater the likelihood that something will seem to break the illusion of the completed painting.
How to Deal with the Camera’s Inherent Flaws
To mitigate the camera’s flaws, take multiple photos from various angles and use sequential pictures to define motion.
Upon doing so, you’ll understand the colors, spatial relationships, and what you find worth looking at about your subject.
Multiple Photos from Various Angles
By looking at your subject from different angles, you discover what captivated you about the scene.
You might not truly understand what your subconscious loves about a subject until you have time to process it, and by then, it’s usually too late for a reshoot.
The multiple photos also allow you to combine those angles into the best single point of view.
As you gain more mastery, you may need less reference, but from what I’ve seen, the pros take many more reference photos for their paintings than beginners.
Expressing Motion in Motionless Subjects
Photographs don’t capture motion, which is fine if you’re painting a still life but a limitation if you need to express movement in your work.
Multiple photos can help you highlight the exact moment of motion through gesture.
Gesture is intentionally capturing the subject in a mid-action pose that implies, at the very least, a direction of motion.
Imagine an illustrated figure in an empty space. How would you pose that figure to show that they are falling?
You can apply this concept of gesture to inanimate objects as well. Just think of reaching shadows, the warm sun falling on a blanket, a tree seeming to protect a cottage by shielding it from above with its branches.
Painting for Beginners: The Takeaway of Using Photos
Here’s the important thing about using photographs if none of these examples help.
Study the subject, not the photograph. The photograph is a trap that still images present.
You’re not painting the photo. You’re painting the subject in the photo.
If you study the subject, your painting will have a much better chance of being successful and satisfying to your creative voice.
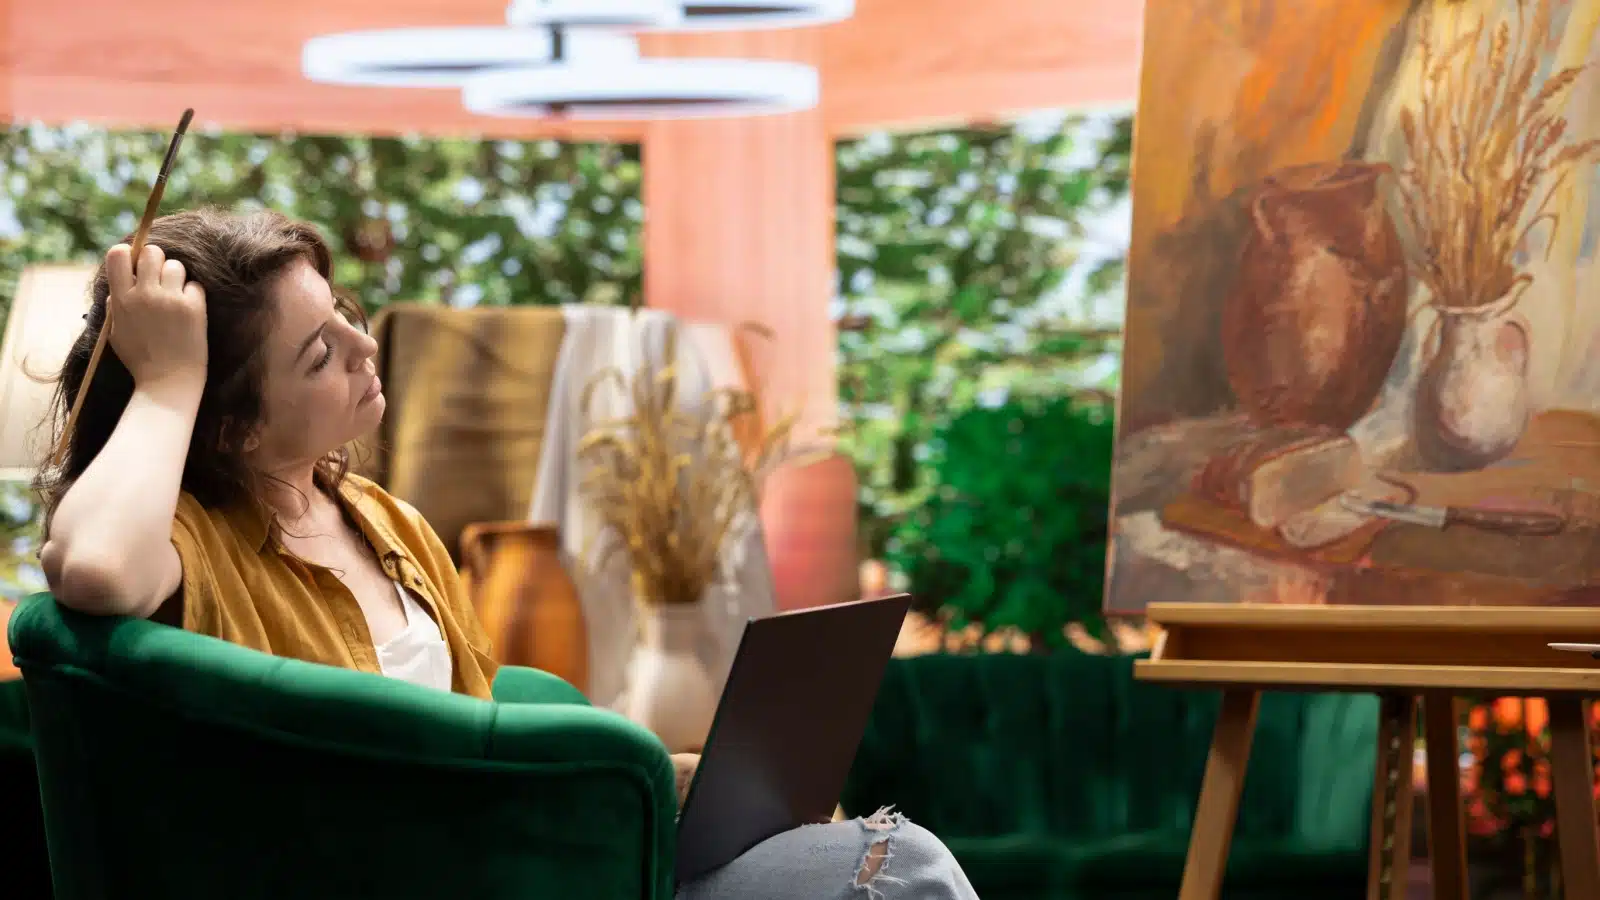
What Should I Practice?
The short answer is you should practice what interests you.
For the first few years, maintaining your creative drive and creating habits that enable you to spend time working and learning should be your primary focus. It’s far too easy for beginners to learn bad habits and lose their spark.
Practice Anything
But if you don’t have any particular interests and just want to learn, test yourself in a few areas and see what excites you.
The observation learning process we’ve discussed won’t confine you to that area forever, but picking one thing to start with will help you refine those skills. At some point, you’ll realize that your landscape painting skills have prepared you to adapt to portrait or figure painting with some adjustment.
Think of being an artist as climbing a cylindrical tower. You can climb up from many starting points, but once you’re at the top, it’s much easier to step between disciplines than climb sideways to refocus your efforts while maintaining your primary goal.
Using this philosophy, you realize the shortest path to mastery is a straight line.
Ideas for Where to Start
Still life scenes are the easiest for most people because they are a self-reliant learning process. Anyone can set up a still life with items from their home.
Portraits and figures studies rely on live models or photographs, but they can help you see things from multiple angles and master gestures.
Landscapes are very popular and can give you the motivation you need to keep practicing.
Ultimately, what you choose to focus on depends on your interests.
Painting for Beginners: The Final Exam
Sorry, mate, this is a blog post. There’s no final exam except for the one you give yourself.
You must do the work if you want to advance from beginner to intermediate status. But trust me, it’s not really work, if you love it.
Practice. Paint. Observe. Sketch. Repeat.
Your skills will improve with practice, and success will come when you learn to create something miraculous from the mundane world you see.