
Discord is the hottest (not so) new way to communicate.
The messaging app offers extensive functionality, making it ideal for networking with like-minded people and engaging with friends worldwide.
And the best part is you can create your own Discord server, personalizing it for your niche needs.
Discover how to make a Discord server and build your community!
What is Discord?
Discord is a messaging app that offers far more functionality than your standard text apps.
It offers the best of all the messaging worlds, taking the good things from old-school messaging boards and social media to create the ideal platform for community building.
What is a Discord Server?
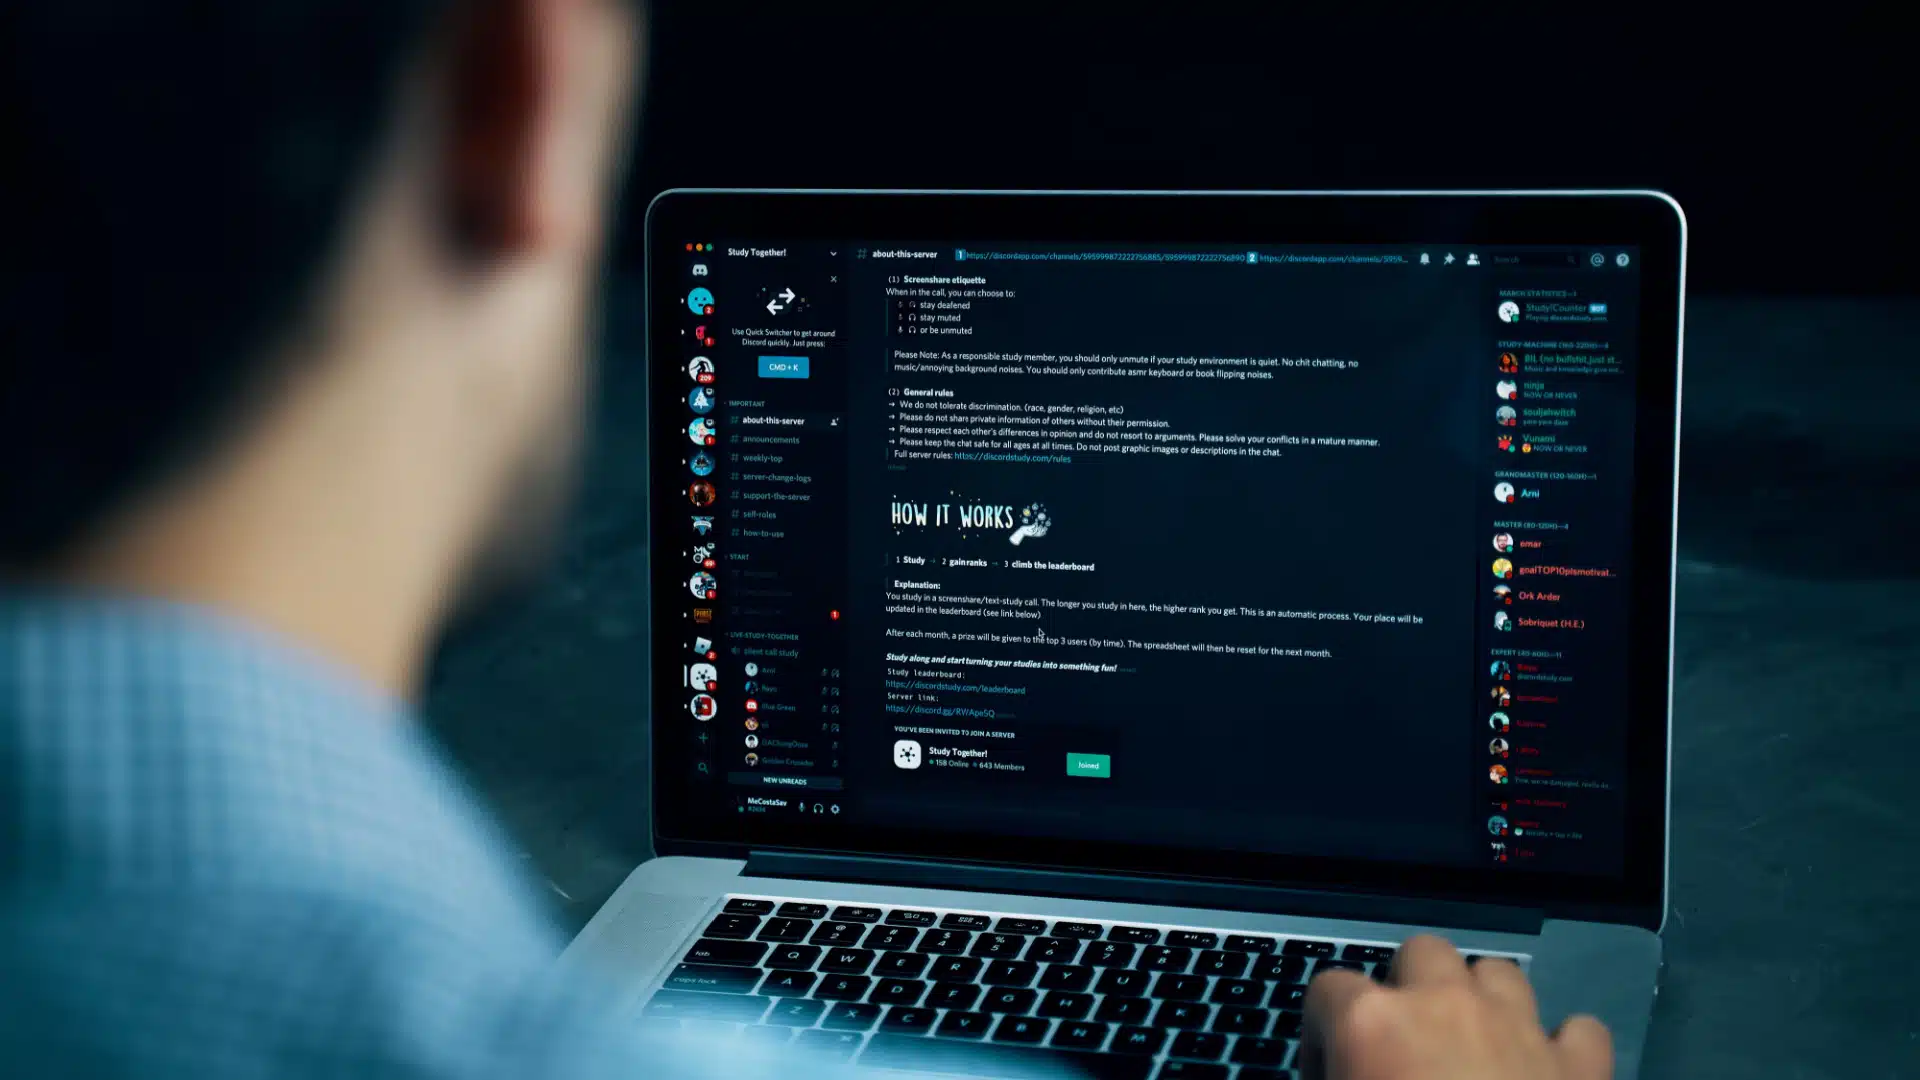
A Discord server is a community on the app.
Anyone can make one for anything they want.
Some people make servers to connect with their college friends for gaming nights, while others use them to interact with family who live far away.
Small companies communicate with remote workers via Discord, while many internet celebrities use it to connect with fans. The possibilities are endless!
Learn how to make a Discord server that suits your unique needs.
How to Make a Discord Server
Discord makes creating a server simple.
Navigate to Discord and install the app.
On the left-hand side of the screen, you’ll see all the servers to which you belong. If you scroll to the end of that list, you’ll find a round (+) button. When you hover over the button, you’ll see the words “add a server.”
Click the button.
A pop-up will appear, asking whether you want to create your own server or use a template.
Discord will create a server with pre-made channels and categories if you opt for a template. If you decide to make your own server, you must build everything from scratch.
I prefer to build my servers from scratch because the blank slate helps me design everything however I want. However, a template works well for those who don’t want to put that much effort into it. You can also edit the channels and categories later.
Public and Private Servers
Once you pick a template, a new pop-up will appear asking you to “tell us more about your server.”
If you pick “for a club or community,” you will create a public server; if you choose “for me and my friends,” it will be private.
You can skip this step if you aren’t sure.
Public Discord Servers
If you’re trying to build a community on Discord, you probably want to keep it public, meaning anyone can join with an invite.
Community servers offer access to additional moderation options not available in private servers. Users who join must have verified email addresses, and you must turn on Discord’s content filter, which scans for and deletes explicit materials.
Making your server public will also automatically create two channels—an announcement channel and a rules channel. You can choose an existing channel for these or have Discord create a new channel.
Changing from Private to Public
You can transform your private server into a community server in the settings menu.
Navigate to server settings by clicking on “enable community.”
Finish Making Your Discord Server
After deciding on public versus private, a final screen will pop up asking you to name your server, allowing you to upload a photo.
Although you must set a name, you can always change it later. You don’t need to upload a photo; if you do, you can change it later.
If you don’t, Discord will simply use your server’s initials.

That’s it! You’ve created your first Discord Server!
How Do I Make a Good Discord Server?

That quick tutorial on making a Discord Server will leave you with the bare bones of a server.
Now, it’s time to morph that server into a glorious community suited to your needs.
You must:
- Create categories and Channels
- Develop roles and permissions
- Integrate Bots
We will help you figure out the basics so you can get started. As your Discord community grows, you can always change things to suit your changing needs.
Creating Discord Categories and Channels
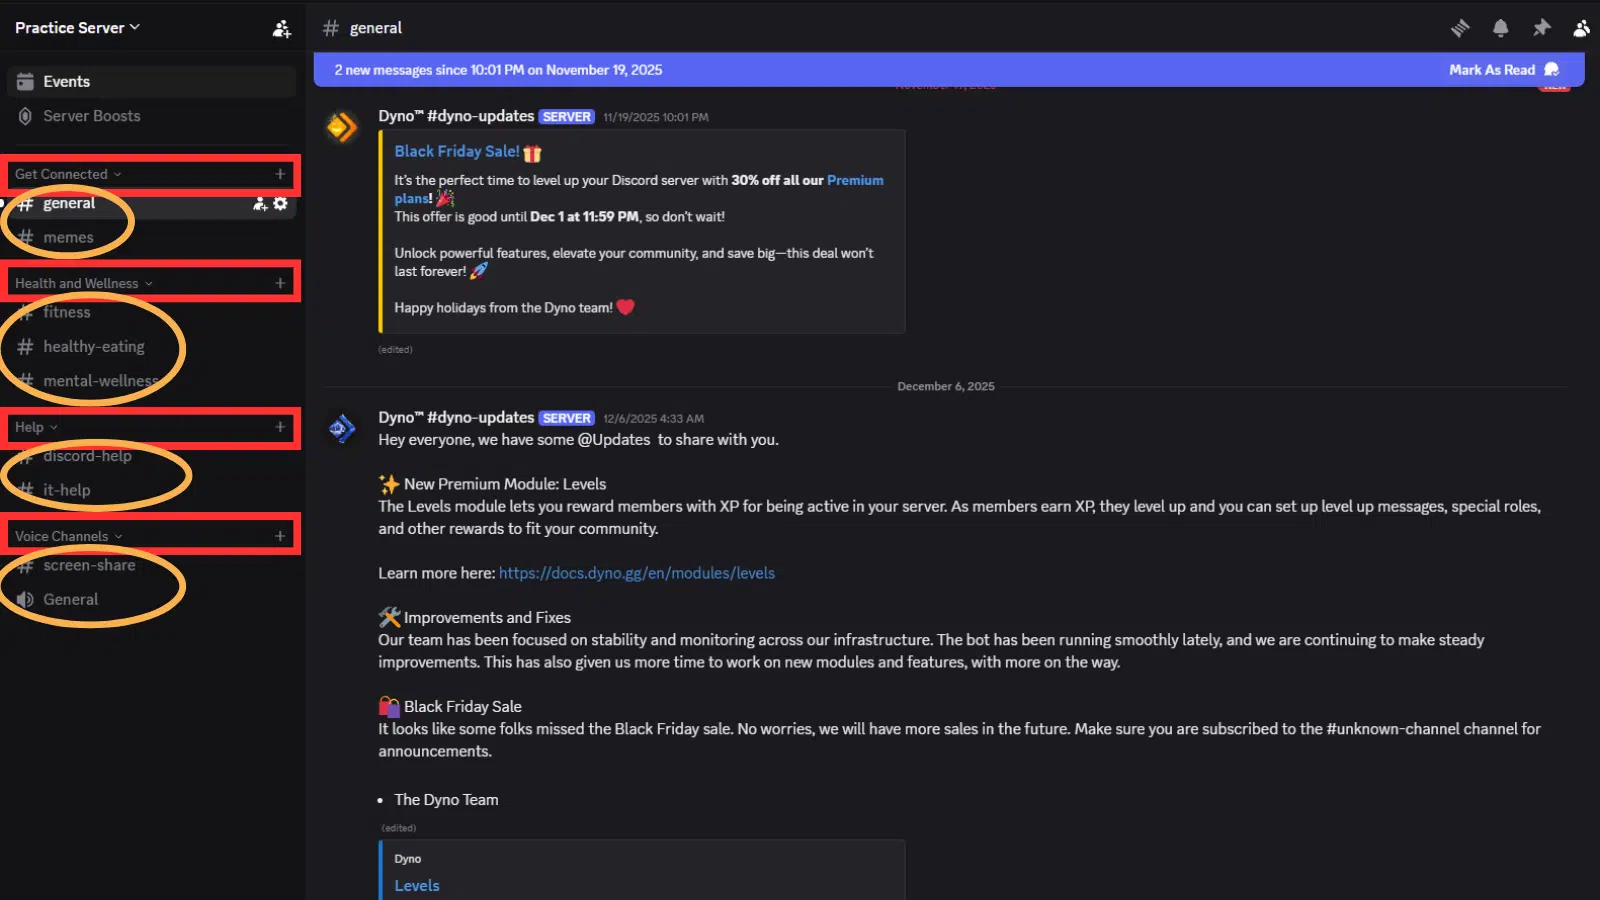
First, you should brainstorm the categories you want to use. Categories are groups of channels that serve a similar purpose.
They’re entirely up to you and will vary depending on your purpose. You can have an entire category for memes, with channels for animal memes, funny memes, or pop culture memes.
You can have a food server with categories for different types of recipes or a paid community with special categories based on paid tiers.
Examples of Categories and Channels
I’ve run numerous Discord communities. I’ve had a streaming community, a blogging community, and a life coaching community.
Each had different categories and channels to suit the community members’ needs.
The streaming community features a social category for networking and building connections, a stream category for go-live notices and technical help, and a limited moderator category with space for the moderators to discuss community happenings.
The blogging Discord server has a category for blog help featuring channels on Plugins, monetization, and SEO, a collaboration category for quote and interview requests, and a general chat area for getting to know one another.
Our new Life Coaching Discord has categories based on paid tiers. Members who pay for the higher tiers get exclusive access to additional content.
Developing User Roles and Permissions

Now that you have an outline of your categories, you must consider user roles and permissions.
User Roles
Discord allows servers to customize up to 250 unique roles. You can have “just for fun” roles or give users with a specific area of expertise a unique role that highlights it.
Some of my server roles include tech support, creative design, moderator, gender identity, and mentorship. My streamer Discord has roles showing who has reached Twitch affiliate status. My Life Coach server has roles for people in the paid tiers.
Permissions
Next, you customize each role with its unique permissions. You can create private categories only open to people with specific roles. If you set up moderator roles, you can allow those users to delete messages.
Assigning roles and permissions is crucial, especially for public servers. You don’t want to give people you don’t know or trust vital moderation tools, but you want to ensure everyone can chat, read old messages, and use fun extras like emojis and gifs.
Integrating Discord Bots
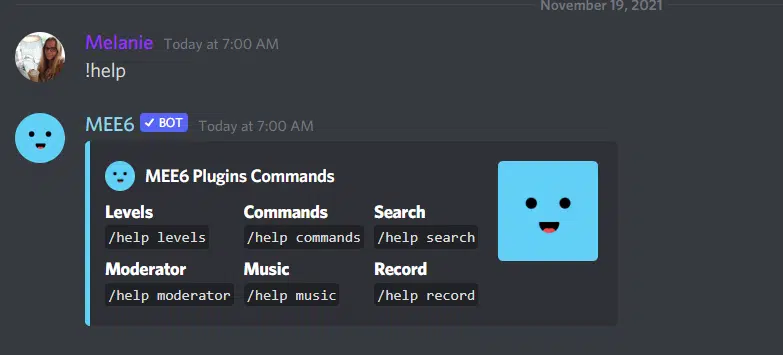
Discord offers hundreds of integrations, making it one of the most customizable messaging apps on the web.
Discord bots allow you to integrate with Twitch, YouTube, or an RSS feed. They offer moderation tools and games, manage roles, and provide engagement opportunities.
There’s a bot for almost any Discord need. Check out our beginner’s guide to Discord bots to get started.
We showcase the most popular bots that will help you grow your server.
How Much Does a Discord Server Cost?
Discord is free. The platform lets you create and manage a massive server at no cost.
However, they need to make money somehow, and they do so via premium services. Individuals can purchase Discord Nitro, which allows them to use emotes from any server all over Discord and upload larger photos.
Server owners (and members) can pay to “boost” a server. Server boosts provide extra emoji slots and allow anyone in the server to upload larger slots.
Boosting a server costs $4.99 monthly, while Discord Nitro costs $9.99 monthly.
You don’t need either of these services to build a successful server.
Do Discord Servers Make Money?
Discord is a messaging app designed for collaboration and connection. It was not intended as a money-making app, but where there’s a will, there’s a way.
Some communities charge their members for access, while others offer exclusive access to channels for specific paid roles. Other communities are entirely free.
Discord has an option for creating a paid community using tiers, but it’s strict about which communities it accepts into the program.
Many paid communities host their “purchase” page elsewhere via the community website or a seller’s community like Gum Road. You check out on the community’s website (or a third-party payment platform like SendOwl), and once the payment is received, the owner invites you to the Discord server.
It’s up to you whether you want to charge for access to your Discord community. However, before doing so, be sure to ask yourself if the value you are providing is worth the cost.
Growing Your Discord Community
In my opinion, the question isn’t how to make a Discord server. That part is relatively straightforward.
It’s much harder to build your community.
Here are some tips.
Invite Your Fans
If you’re a content creator, influencer, or the like, use your platform to invite your existing fans. My streaming community became a massive success because I invited streamers through my website.
Word of Mouth
Allow people who are in the server to invite their friends. Although the streaming community started through my blog fans, people loved it, so they invited their friends, who invited their friends, and so on.
Social Media
Advertise your Discord server using your social media channels. Tweet out an invite. Pin a landing page. Post to Facebook. Make intriguing images for Instagram.
The more your name gets out on social media, the more people want to join.
Brand-Building
Growth will take a while, especially for niche communities. You must build a brand off Discord. As people who enjoy your brand find you, they will join your community.
How to Make a Discord Server

Postmodern Studio via Shutterstock.com.
Hopefully, this brief tutorial on making a Discord server will help you start building your own.
Remember that tweaking and growing your server is a never-ending process. As it grows, you may need new channels and new integrations, and that’s okay.
Learning how to grow and adjust is part of the fun!