
When starting your streaming career, you need recognizable branding. Creating unique, engaging Twitch visuals is one of the best ways to brand your stream.
Though there are many extras you could add to your channel, you should start by creating a great Twitch overlay.
What is a Twitch Overlay?
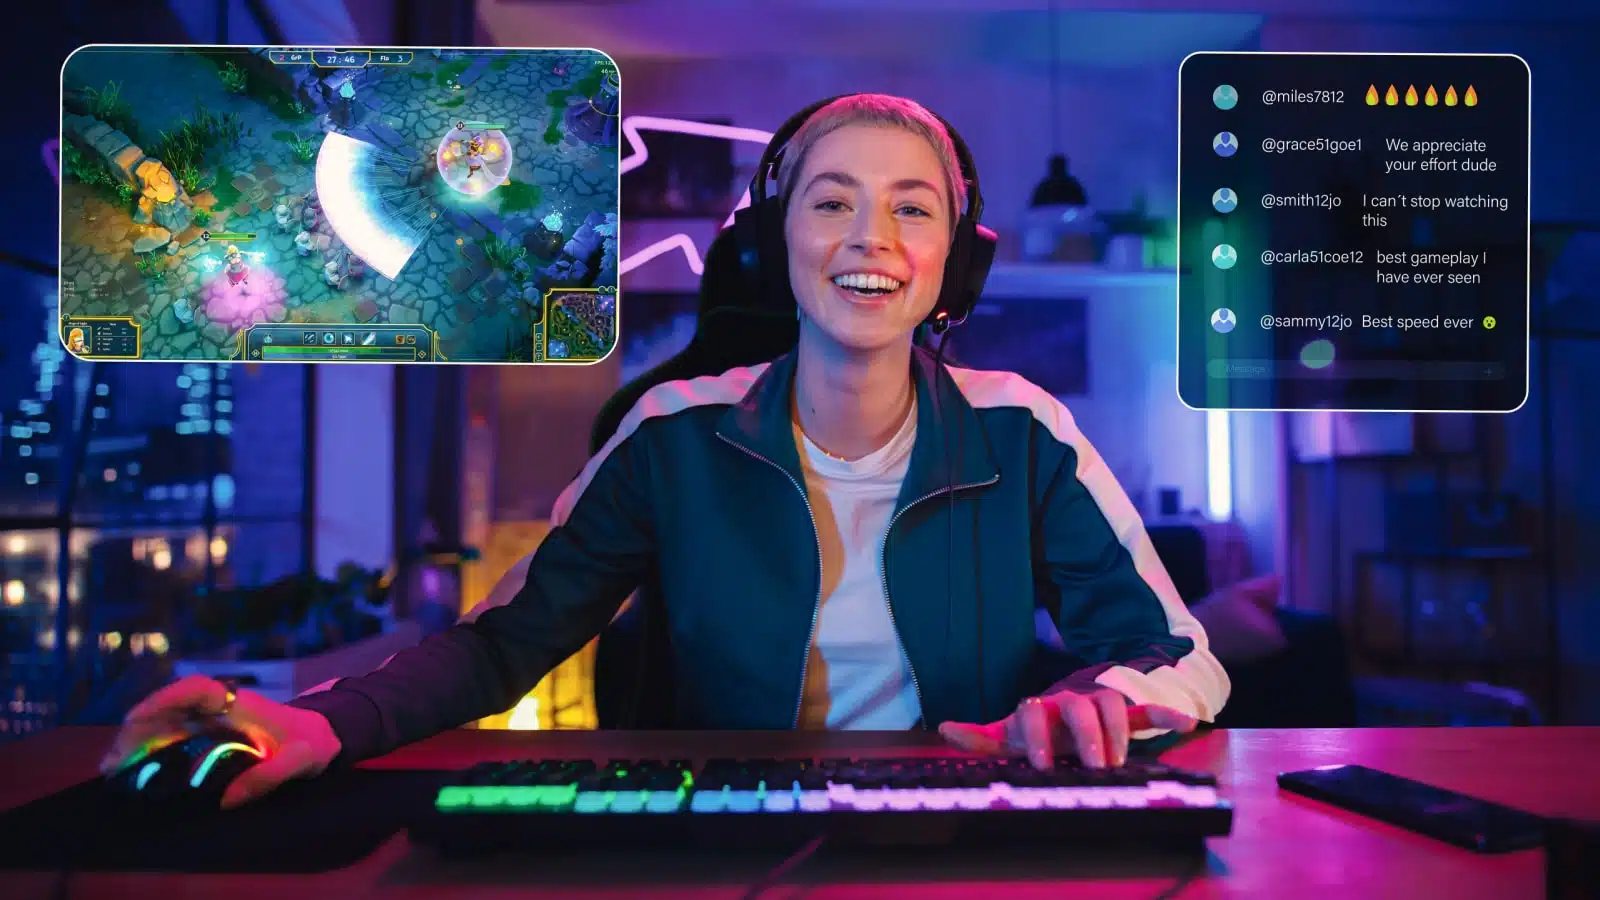
A Twitch overlay makes your stream more visually appealing.
It’s a branded separation between stream elements like your chat, game, and webcam. An overlay can also feature links to social media sites, transitions, or other graphics.
Where To Get Twitch Overlays
Finding the right visuals is crucial to a professional-looking stream. Before creating your overlays, you must decide how you want them to look.
Before searching for that perfect overlay, consider your theme.
Deciding on the Theme of Your Overlay
Many streamers find or create overlays that relate to their content and the game they are playing. You can make a Fortnite or League of Legends overlay if you mainly stream those games.
You may also want to create an overlay that fits a certain aesthetic. Some streamers showcase their pets, hobbies, or favorite retro video games in their overlays.
The most important thing is that the overlay stays true to you. You wouldn’t want to create a Call of Duty overlay if you mainly stream Grand Theft Auto, and you wouldn’t want to showcase Esports in your overlay if you only play Animal Crossing.
Now that you have an idea of what you want in an overlay, it’s time to find the perfect one!
Getting a Pre-Made Twitch Overlay
If you want to go the easy route and get some pre-made visuals, you can browse sites that specialize in making overlays for streamers. Popular sites like Streamlabs and Stream Elements offer overlays in addition to broadcast software.
One downside to using a premade overlay is that there is a chance others already have the same one, so you might not have the unique branding you want.
Best Websites That Offer Premade Twitch Overlays for Streamers
Here is a shortlist of websites that offer pre-made overlays for Twitch Streamers:
- Streamlabs
- Stream elements
- Lightstream
- Streamplay
There are a variety of other websites offering templates and overlays for streamers. Many are specifically designed for Twitch, but some make custom templates for YouTube or Facebook gaming as well.
Paying a Freelancer for an Overlay
Freelancers on Fiverr, DeviantArt, and even Etsy offer overlay packages. You can purchase a pre-made overlay package for a reasonable price or ask the designer to create a custom overlay for you.
As the streaming industry grows, more and more freelancers are specializing in making Twitch graphics. If you have money to spare, your best bet is to purchase a custom overlay designed specifically for your stream. The ready-to-go overlay packages work well for beginners.
Where Can I Get Free Stream Overlays?
Websites like Streamlabs and StreamElements typically have a few general overlays you can download for free. They are very basic but meet the needs of a new streamer.
A variety of other websites that claim to offer free overlays, but your mileage may vary with them. Some offer great free resources, while others might be illegal or filled with viruses.
Creating Your Own Twitch Overlay
If you are not a stranger to graphic design, you can easily make your Twitch overlays from scratch in design software such as Adobe Photoshop or Illustrator.
If you aren’t a graphic designer, you can use a website like Canva to create exciting overlays. They have a wide variety of customizable templates that are easy to use. You will find a much larger variety of graphics, templates, and resources with Canva Pro, but the free version also has options.
If you have design skills, these platforms allow you to make all your own Twitch graphics.
Best Software For Making Twitch Overlays

Here is a shortlist of software you can use to create your own Twitch overlays and graphics.
- Canva
- Adobe Creative Cloud
- Adobe Photoshop
- Adobe Illustrator
- Adobe Lightroom
- GIMP
- Krita
How Many Overlays and Graphics Do I Need?
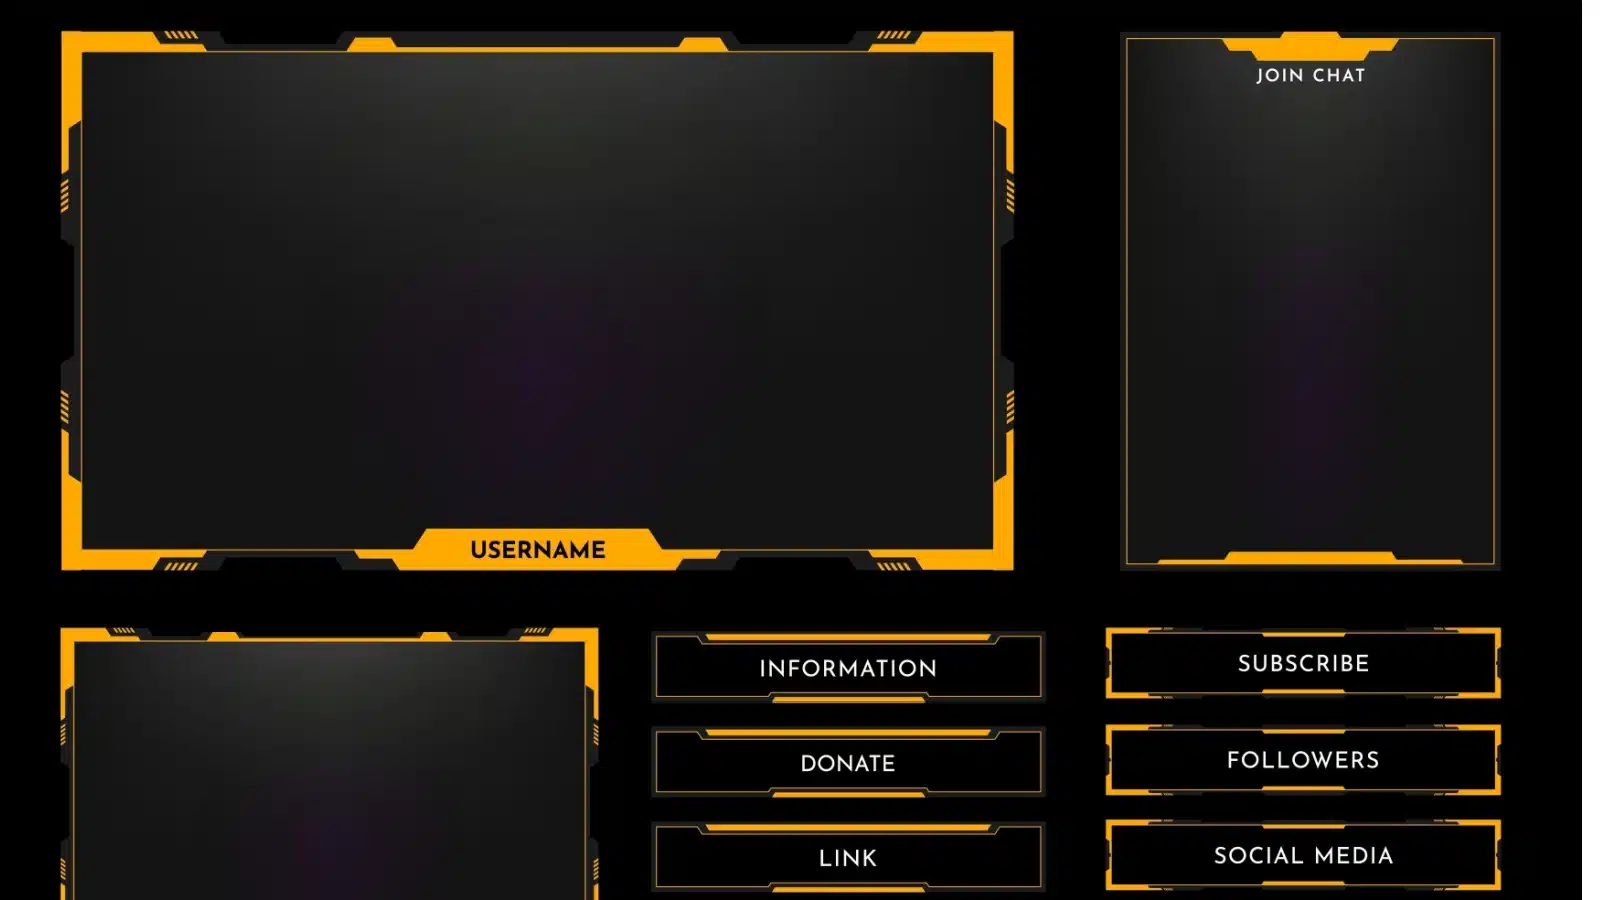
If you want a compelling stream, include as many graphics as you can, like Twitch chat overlay, end screens, and panels.
Although you don’t need all these extras, they make your stream more compelling and can attract viewers.
So, now that you’ve found your perfect Twitch overlay let’s see how to set it up on your streams.
Choosing Your Streaming Software
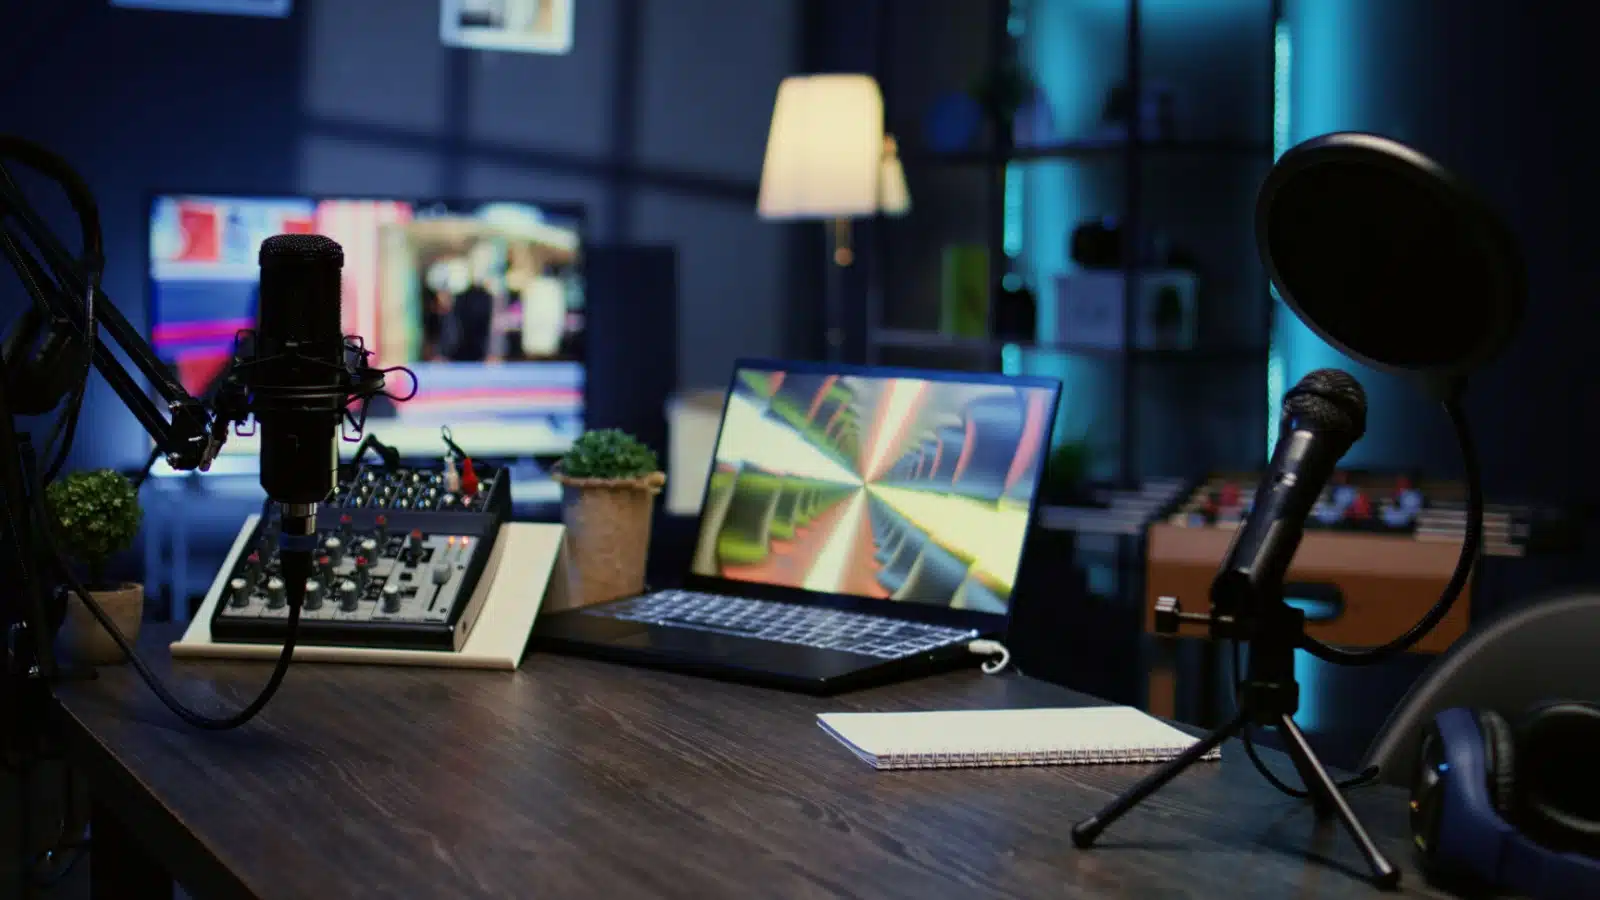
Before you start streaming, you need broadcasting software, which allows you to add visuals and graphics to your stream.
The most common broadcast software is Open Broadcast Software (OBS). The below instructions showcase how to add your overlays in OBS to create your perfect stream.
If you decide to use different software for streaming, don’t worry, as the process is mostly the same in all broadcasting programs.
Adding A New Scene
Once you decide upon your streaming software, your first step is to add a scene.
Go to the scenes dock and find a little “+” symbol. When you click on it, you create a new scene.
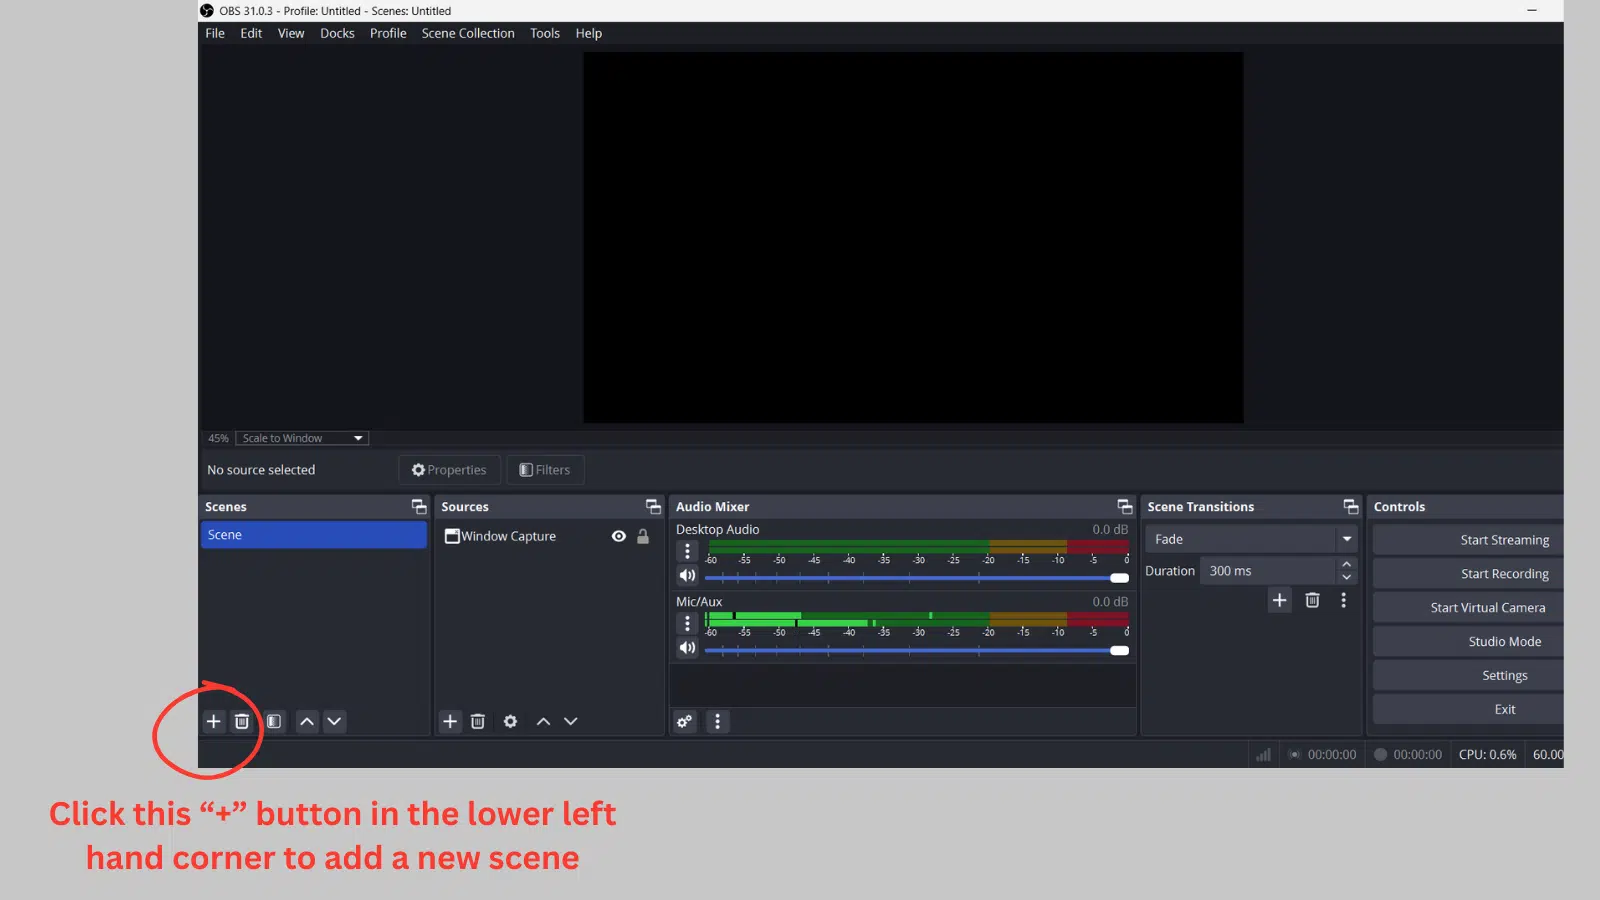
It’s the base for all additions you want to have in your stream, whether visual or audio.
Adding A New Source
Once the new scene is ready, you need to add a new image source.
On your scene, there will be a sources section. It’s in the bottom right of the screen.
There will be another “+” symbol, and again, you should click on that.
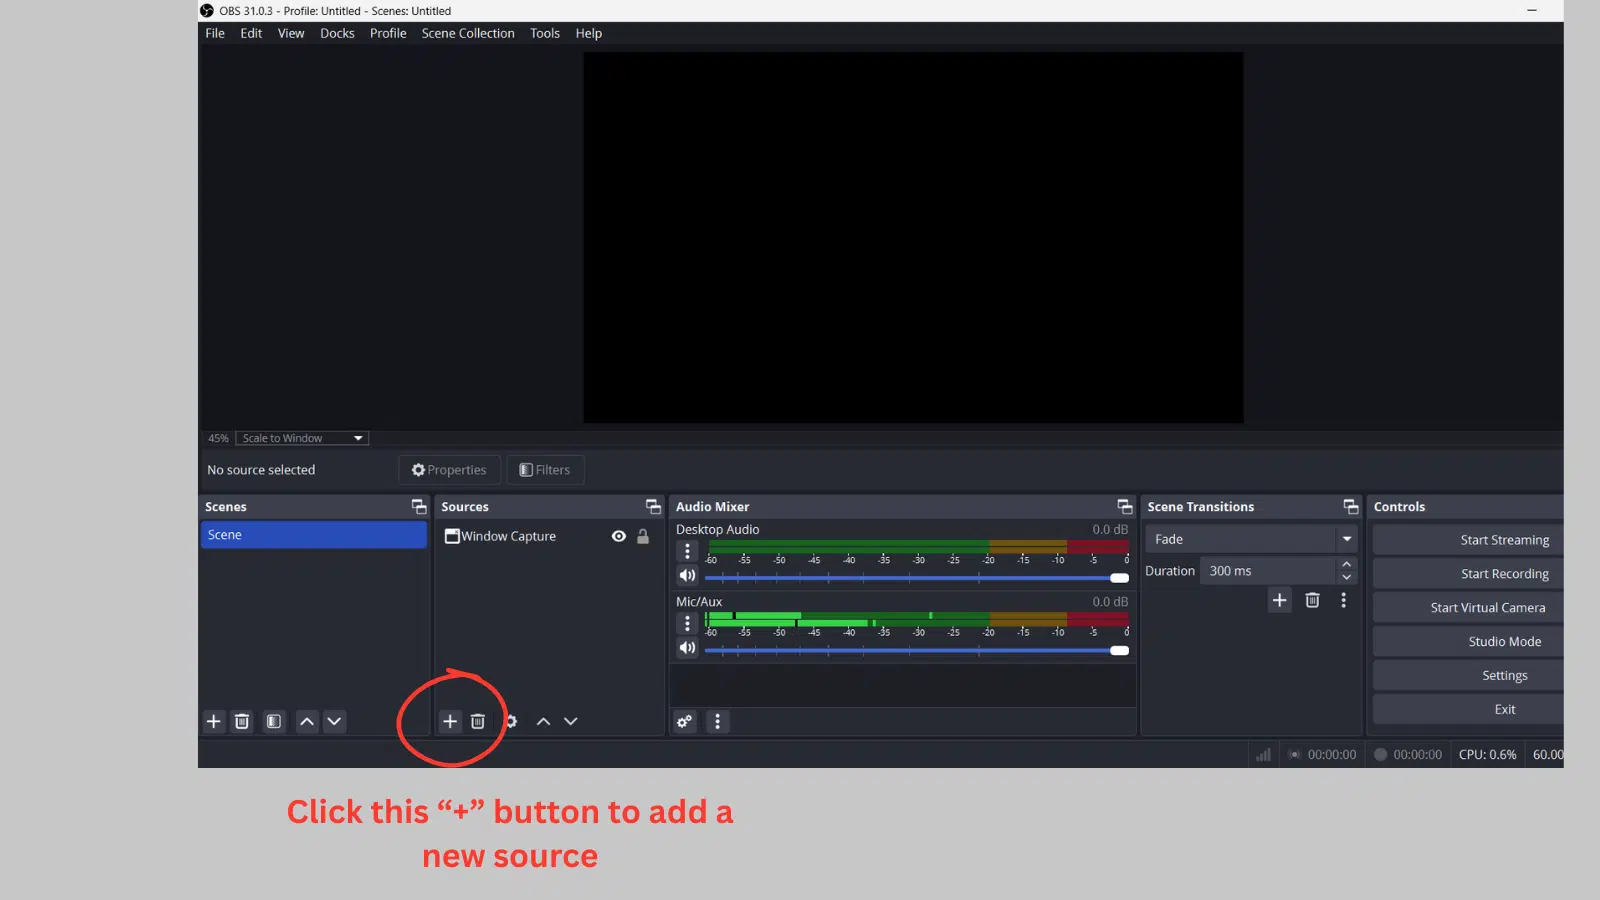
You can add either a media source or an image source, depending on whether the visuals you are adding are static or animated. The static ones should go under Image sources, and the animated ones should go under Media sources.
Once you click to add a new source, you will see a properties window. To choose the exact file you want, click on Browse.
Then, you will need to find the file you’re looking for in your documents, and once you do, select it and click on Open.
Here’s a short screen recording showing how to do it:
Don’t forget that overlay files in a zipped folder need to be unzipped beforehand.
Now, you will be back in the properties window.
Sources in Your Scene
When creating your scene, be sure to add all of the sources you will be using. Your webcam, microphone, capture card, and other images or overlay materials will be a part of this.
Some streamers choose to have a separate location on their overlay to track subscribers and followers, while others have multiple webcams to show their setup or even their pets.
All of these items need to be added to your scene, and your Twitch overlay should have room to showcase all the things you want to showcase on stream.
Customize Your Scene
Next, you will need to customize everything and set it to look the way you want. Customization includes setting the size and moving the assets where you want them.
Many people choose to have their video games shown in the center of the screen, with a webcam in one of the corners. The chat is always to the right, but unique overlay materials, such as alerts, counts, and anything else you choose to add, need a place.
Once you have your overlay set up correctly, you need to make sure your stream key is correct, and then you will be ready to hit that Go Live button!
Transitions
Transitions are a fun part of any overlay set. These fancy visuals animate your screen as you move from one scene to the next.
For example, you may want a flame to move across the scene as you transition from the ‘starting soon” screen to the “now live” screen.
One thing that might be better to get pre-made instead of making it yourself is the stinger transition, as that is the video clip that plays when a shift is happening on your stream.
You can make transitions yourself, but you will need more advanced graphic design skills. Transitions aren’t essential, so you can go without them if you are new to streaming. However, as you build your brand, they are something you want to include in your overlays.
Why Twitch Overlays Are Important
Twitch visuals help streamers establish a brand. People will see it every time they watch you, meaning that your visuals will be easily recognizable and associated with you.
Some visuals are eye-catching, but they aren’t suitable for you if they don’t click with your style and aesthetic. Having a Twitch overlay that is unique and true to your style is more important than overlays with perfect graphic details, fonts, and illustrations. The visuals need to be on-brand with your logo, style, and stream’s imagery.
Overlays can also help viewers stay engaged with the content. Fun animations, interactive games, bright colors, and exciting transitions are pleasing to the eye and can help keep a viewer’s attention during the entire stream.
When creating your overlay, consider whether you would enjoy seeing it if you were a stream viewer. Is it eye-catching and interesting, or is it bland? It might even be too distracting, drawing viewers’ attention away from the gameplay. These are all things to consider when creating your Twitch Overlay.
Starting Your Twitch Stream
via Shuttertock.com.
Many gamers fire up a stream because they want to make money playing games. The truth is that streaming isn’t easy, and a lot of work is involved behind the scenes. Creating a perfect Twitch overlay that supports your brand is just a tiny part.
Knowing how to stream is just the beginning. Next, you will need to attract viewers, gain subscribers, become a Twitch affiliate, and grow your brand.
It’s hard work but well worth the effort if you want to make a career out of streaming.